Ever wondered how those glossy, nourishing lip oils actually work?
Your lips deserve the best care. They face harsh weather, dry air, and everyday wear constantly. That delicate skin needs real nourishment, not just temporary shine.
You can create your own custom lip oil at home. It’s surprisingly simple with just a handful of natural ingredients.
It costs way less than store-bought options, and you control exactly what goes on your lips.
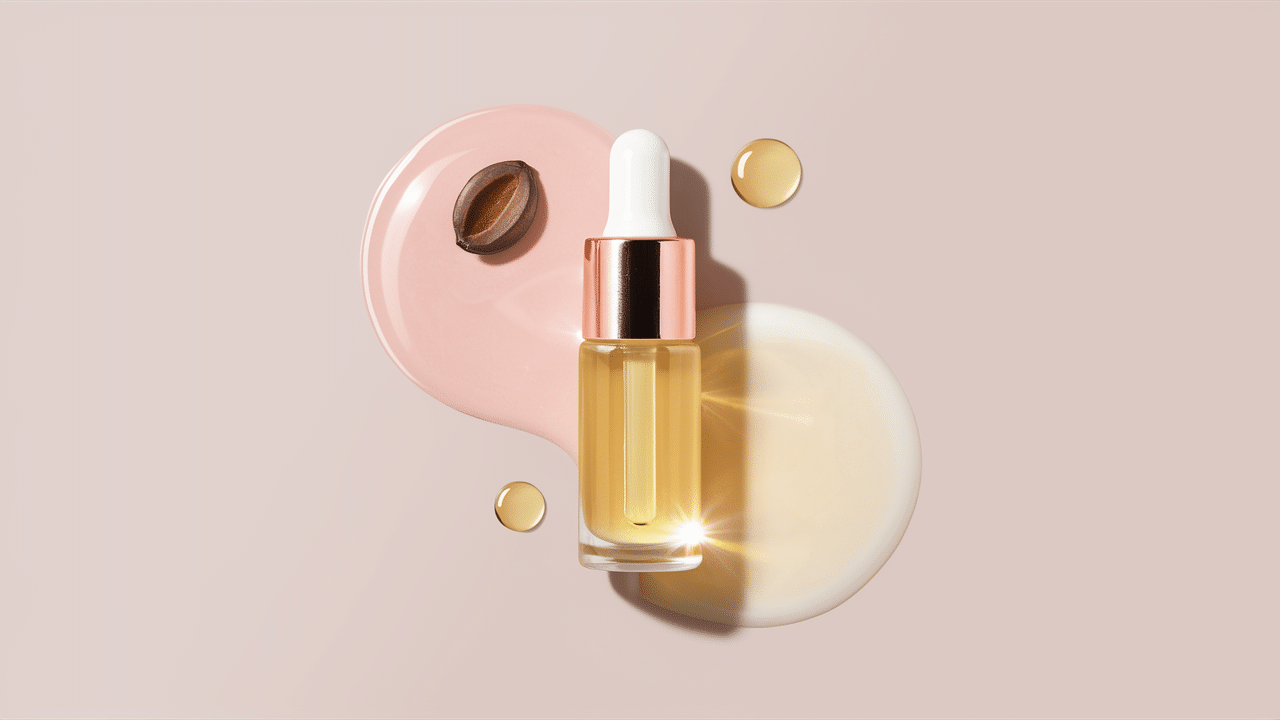
What is Lip Oil?
Lip oil is a lightweight beauty treatment that falls between lip balm and lip gloss. It blends nourishing oils that hydrate, protect, and add shine in one step.
The formula is pretty straightforward. Most lip oils contain carrier oils like:
What makes lip oil different from lip gloss? The texture and ingredients.
So, what is lip gloss made of? Lip gloss is usually thick and sticky, made of synthetic ingredients like polybutene, mineral oil, petroleum jelly, synthetic waxes, and silicones.
These ingredients shine but don’t nourish. They often include colorants, shimmer, and preservatives.
Lip oil feels lighter with no sticky residue. Lip gloss focuses on shine; lip oil focuses on hydration and care.
Why do People Love Lip Oils?
- Deep, Long-Lasting Hydration: Lip oil penetrates your lip tissue instead of just coating the surface. This means softer lips that stay hydrated for hours.
- Repairs Damaged, Chapped Lips: Natural oils contain vitamins and antioxidants that repair damaged tissue. Vitamin E heals cracks and splits effectively.
- Creates a Protective Barrier: Lip oil shields your lips from wind, cold air, sun exposure, and indoor heating damage.
- Natural Fuller-Looking Lips: Properly moisturized lips appear fuller and smoother without artificial fillers or irritating plumping ingredients.
- Improves Lip Texture: Regular use smooths rough, uneven lip texture over time.
- Evens Out Lip Color: Better hydration improves blood circulation, naturally enhancing lip color and making them look healthier.
- Reduces Fine Lines: Oils like argan, rosehip, and vitamin E contain anti-aging compounds that help reduce fine lines around your lips.
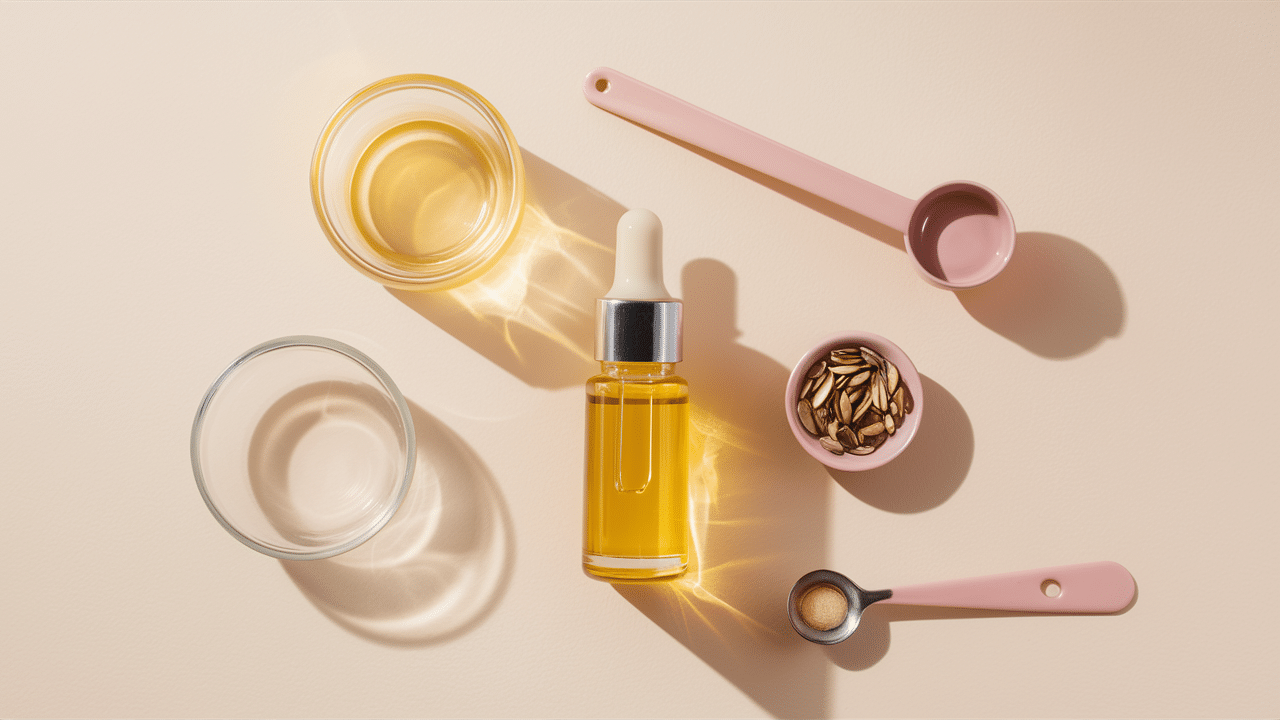
What do You Need Before You Start + Choosing the Right Ingredients
Making lip oil at home doesn’t require fancy equipment or hard-to-find ingredients. You probably already have some of these items in your kitchen.
And not all oils are created equal. Some absorb quickly, others provide intense moisture, and a few offer special healing properties.
Choosing the right oils for your lip oil makes all the difference between a product that works and one that just sits in your drawer.
These are the must-haves for making any basic lip oil:
| Ingredients Required | Equipment Required |
|---|---|
| Jojoba oil | Small mixing bowl/beaker |
| Sweet almond or coconut oil | Measuring spoons |
| Argan oil or rosehip oil | Stirring stick/spoon |
| Vitamin E oil | Dropper or pipette |
| Flavor oil or essential oil | Funnel (optional) |
| Mica powder or lip-safe tint | Empty lip oil tube or roll-on bottle |
Make sure to prep before you start mixing. Focus on:
- Sanitizing everything
- Setting up your workspace for a smoother flow
- Do a patch test
Making DIY Lip Oil
Ready to create your own nourishing lip oil? This process is surprisingly simple and takes just about 10 minutes from start to finish.
Follow these simple steps, and you’ll have your own lip treatment that rivals anything you’d find in stores.
Step 1: Gather and Measure Your Ingredients
Start by assembling everything you need in one spot. This makes the process smooth and prevents scrambling for items mid-creation.
Personal tip: Use actual measuring spoons, not kitchen spoons. Precision matters when working with small quantities. Too much of one ingredient can throw off the entire texture.
Step 2: Sanitize Your Workspace and Tools
Clean hands and tools keep your lip oil fresher longer and prevent bacteria from entering your lips.
Let everything air dry completely before mixing. Water droplets in your oil mixture can lead to contamination and spoilage.
Step 3: Combine Your Carrier Oils
Pour your chosen carrier oils into your small glass bowl or measuring cup.
Gently stir them together for 10-15 seconds with your spoon or stirring tool. The oils should look uniform with no separation.
Step 4: Add Your Vitamin E Oil
Add 1/4 teaspoon of vitamin E oil. Stir it into your carrier oil blend thoroughly. Vitamin E is slightly thicker than most carrier oils, so make sure it’s fully incorporated.
Personal tip: If you’re using vitamin E capsules instead of liquid vitamin E oil, simply pierce 2-3 capsules with a pin and squeeze the contents into your mixture.
Step 5: Customize with Essential Oils (optional)
If you want, you can add fragrance or therapeutic benefits; add them now. Start with just one drop, stir it in, and smell the mixture.
Step 6: Transfer to Your Container
Carefully pour or transfer your lip oil into your chosen container. Keep your hand steady. If you spill a little, wipe it up immediately, as oils can make surfaces slippery.
Step 7: Label and Store Properly
Label your lip oil with the date you made it and the ingredients you used. Natural oils typically last 6-12 months, but you’ll want to track freshness.
Your DIY lip oil is ready!
That’s it. Simple steps, and you’ve created a nourishing lip treatment customized exactly to your preferences.
Apply it throughout the day whenever your lips need moisture, layer it over lipstick, or use it as an overnight treatment.
Proven Oil Combinations
You don’t have to stick with just one oil. In fact, combining oils often creates better results than using any single oil alone.
| Need | Oil mixture | Benefits |
|---|---|---|
| Everyday Hydration | Jojoba + Sweet Almond + Vitamin E | Light, daily hydration with smooth absorption |
| Intense Repair | Coconut + Sweet Almond + Rosehip + Vitamin E | Deep nourishment for cracked or winter-damaged lips |
| Anti-Aging | Argan + Rosehip + Vitamin E | Boost elasticity and smooth fine lines |
| Maximum Shine | Jojoba + Castor + Vitamin E | High-gloss, long-lasting shine |
Advanced Lip Oil Methods for a Professional Finish
Ready to take your lip oil game to the next level? These techniques create salon-quality results at home.
Layer for Intensity
Apply a thin layer of lip oil and let it absorb for a minute. Add a second layer for deeper color and extra shine. This builds richness without feeling heavy.
Mix Custom Colors
Blend two different tinted lip oils on your finger before applying. This creates unique shades you can’t buy in stores. Experiment until you find your perfect color.
Use as Lip Primer
Apply clear lip oil before lipstick. Let it sink in for 30 seconds, then blot lightly. Your lipstick will glide on smoother and last longer.
Create an Ombré Effect
Apply darker tinted oil to the center of your lips. Use a lighter shade or clear oil on the outer edges. Blend gently with your fingertip for a gradient look.
Overnight Treatment
Apply a thick layer of nourishing lip oil before bed. Your lips absorb the nutrients while you sleep. Wake up with softer, plumper lips.
Precision Application
Use a small brush instead of the wand for exact placement. This works great for defining your lip line or applying to specific dry patches.
Set with Powder
For longer-lasting color, lightly dust translucent powder over your lip oil. This locks in the tint while keeping some shine.
These professional methods transform simple lip oil into a versatile beauty tool.
Conclusion
Making your own lip oil puts you in control. No mystery ingredients, no high prices, just pure nourishment that works.
You now have the complete manual on how to make lip oil in simple steps. Use quality ingredients and expert techniques to create a treatment your lips will love.
The best part? Each batch costs just a few dollars and lasts for weeks.
Your lips deserve better. They need real moisture, genuine healing, and ingredients you can trust. Your perfect lip oil is waiting, and it’s easier to create than you think.