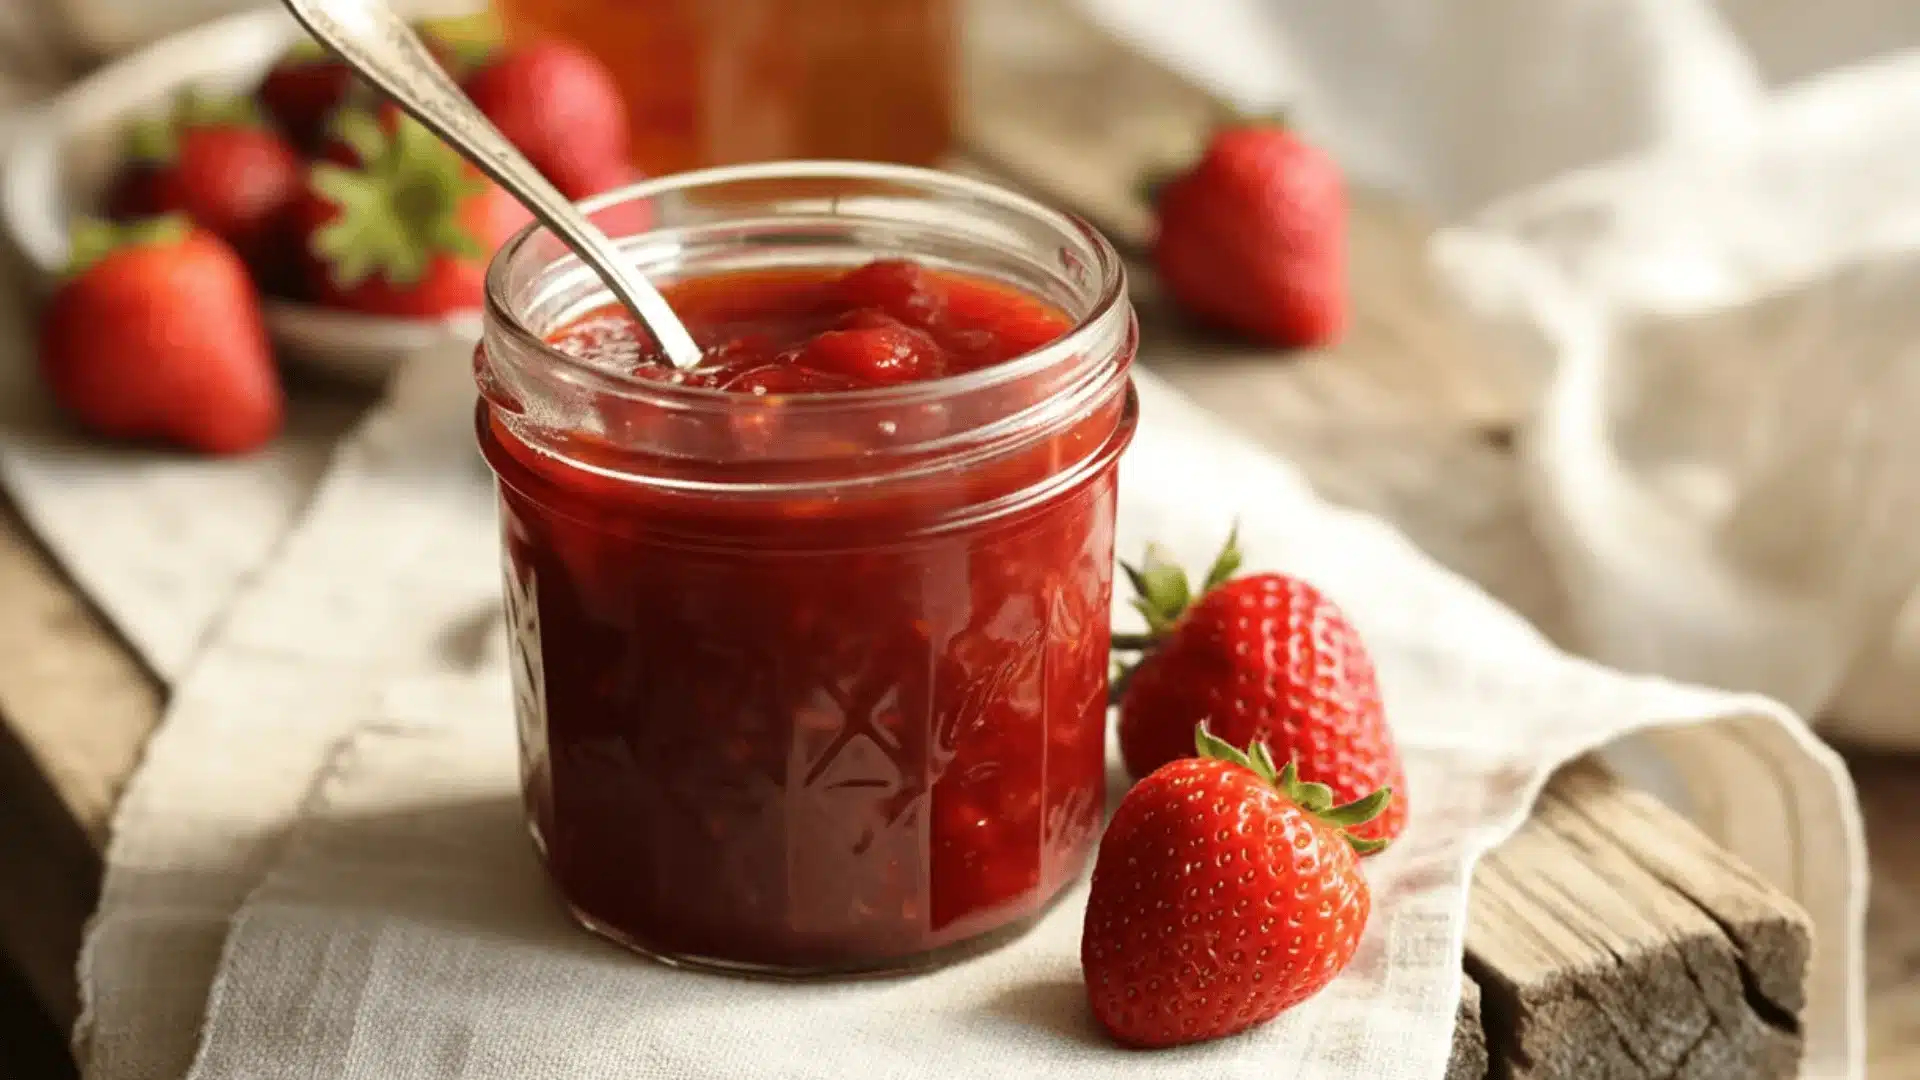
The first time I made strawberry jam at home, I genuinely could not believe how simple it was.
I’d been buying the store-bought version for years, thinking homemade was too fussy, too time-consuming. It’s not.
These strawberry jam recipes changed my Sunday mornings completely, and I have a feeling they’ll do the same for yours.
Strawberry Jam Nutrition Facts (Per Serving)
Before we get into the recipes, let’s see what’s actually in your jam. A standard serving is about one tablespoon.
| Nutrient | Amount Per Serving (1 tbsp) |
|---|---|
| Calories | 56 kcal |
| Total Sugar | 12g |
| Carbohydrates | 14g |
| Fiber | 0.2g |
| Vitamin C | 2mg |
| Calcium | 4mg |
| Iron | 0.1mg |
Homemade jam gives you one real advantage over store-bought: you control the sugar.
Most commercial jams contain high fructose corn syrup and artificial preservatives.
When you make it at home, what goes in the jar is precisely what you choose to put there.
How to Make the Yummiest Strawberry Jam at Home
So what actually makes a homemade strawberry jam recipe worth repeating?
Fresh fruit, the right balance of sugar, and a little bit of know-how.
The biggest mistake is rushing it.
Making delicious jam needs time to develop flavor, and a few small things make a real difference: ripe berries, a heavy pan, and properly prepared jars. None of it is complicated.
If it’s your first time or your fifth batch this summer, you can follow these steps.
Ingredients List
Everything you need for a classic batch. This recipe makes approximately three to four standard jars.
The basics:
- 1 kg fresh strawberries, hulled and halved
- 700g granulated white sugar
- 3 tablespoons fresh lemon juice
- 1 teaspoon lemon zest (optional but recommended)
Optional add-ins:
- 1 vanilla pod, split
- Half a teaspoon of ground black pepper for a subtle kick
- 1 packet of pectin (if you prefer a firmer set)
Step 1: Prep Your Strawberries
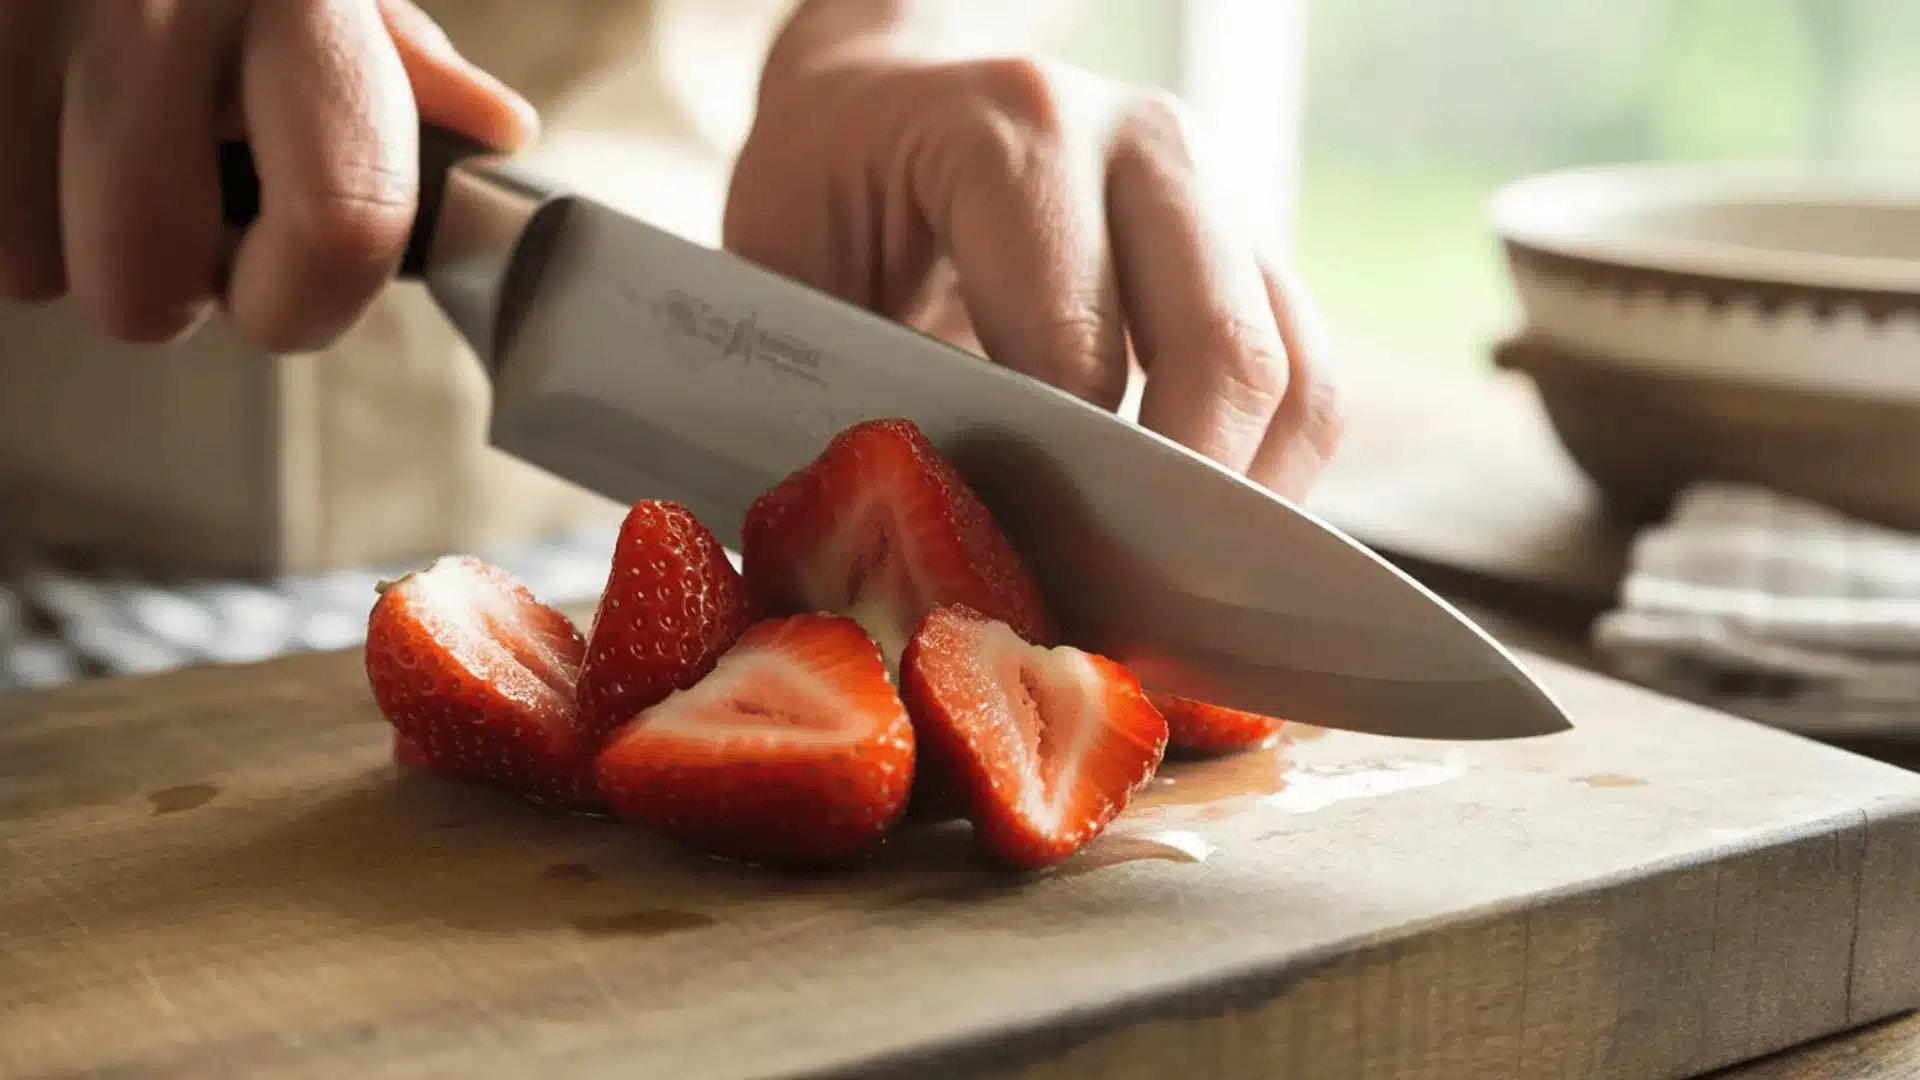
Wash your strawberries under cold running water. Remove the green hulls and slice larger berries in half. Smaller ones can go in whole.
The more evenly sized your pieces are, the more evenly they’ll cook down.
Pat them dry lightly before adding to the pan.
Step 2: Macerate the Fruit
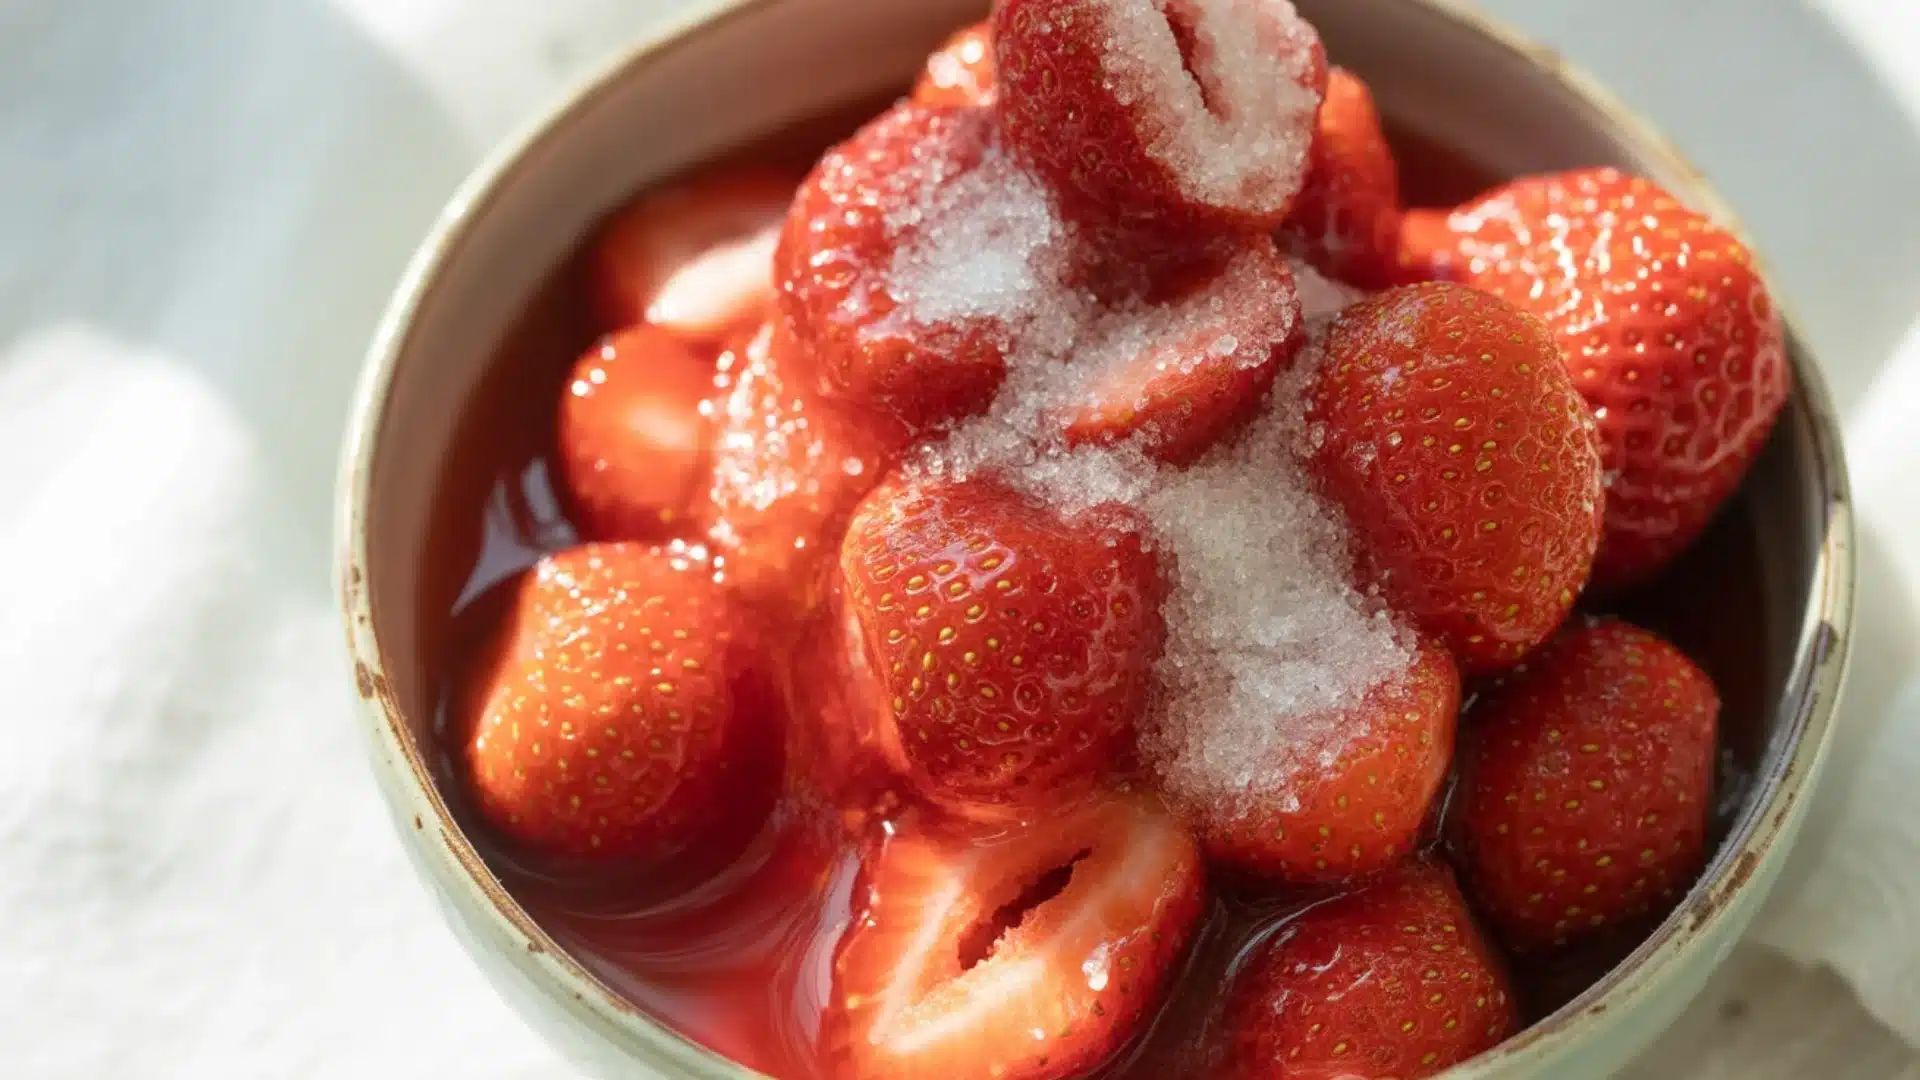
Add the sugar and lemon juice directly over the strawberries. Stir everything together until the fruit is well coated.
Now leave it alone for at least 30 minutes, or up to two hours if you have the time. You’ll notice the strawberries start releasing their natural juices, and the sugar begins dissolving on its own.
Ever wondered why your jam tastes flat even with good strawberries? Skipping the maceration step is usually the reason.
Step 3: Cook it Low, Then High
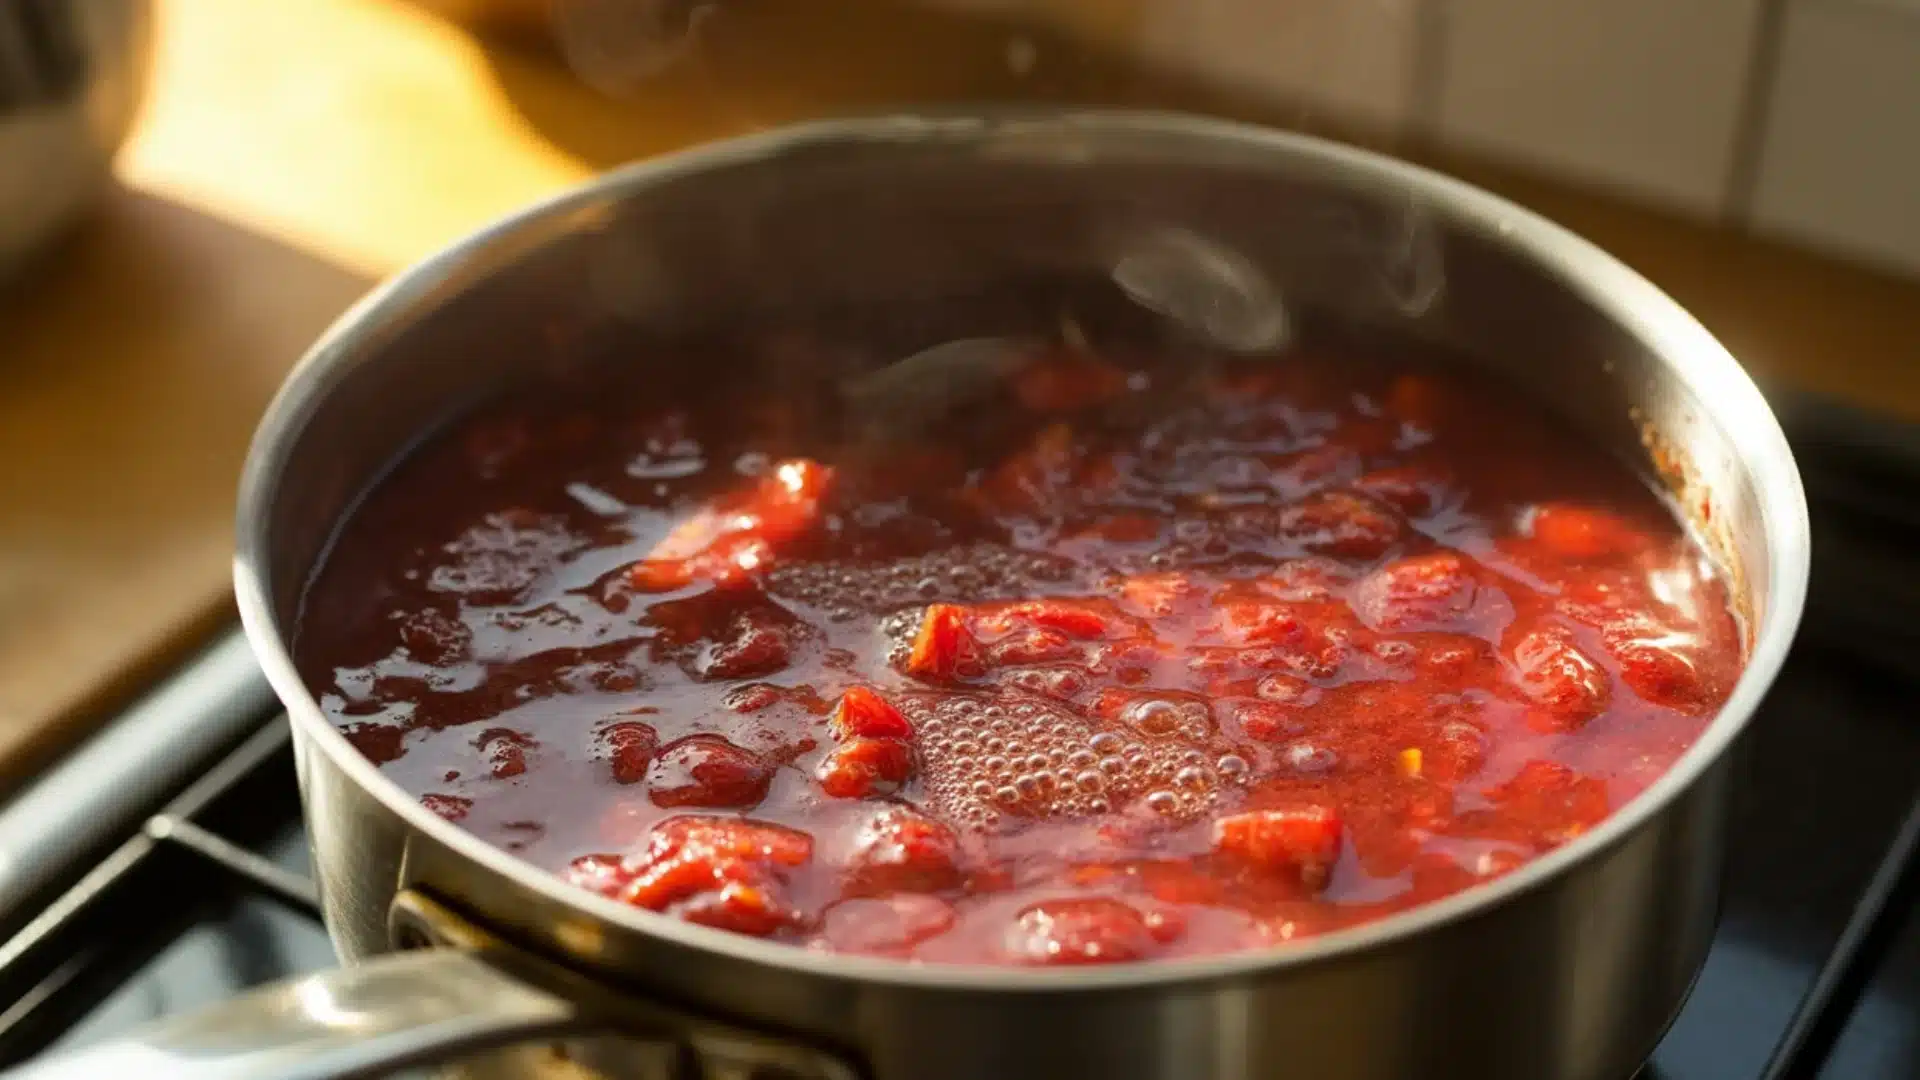
Pour the macerated mixture into a large, heavy-bottomed pan. Set the heat to low and stir slowly until every grain of sugar has fully dissolved.
Run a spoon along the bottom of the pan. If you feel any gritty texture, keep stirring on low. Once the sugar is completely dissolved, raise the heat and bring the mixture to a full rolling boil.
At this stage, stop stirring and let it do its thing.
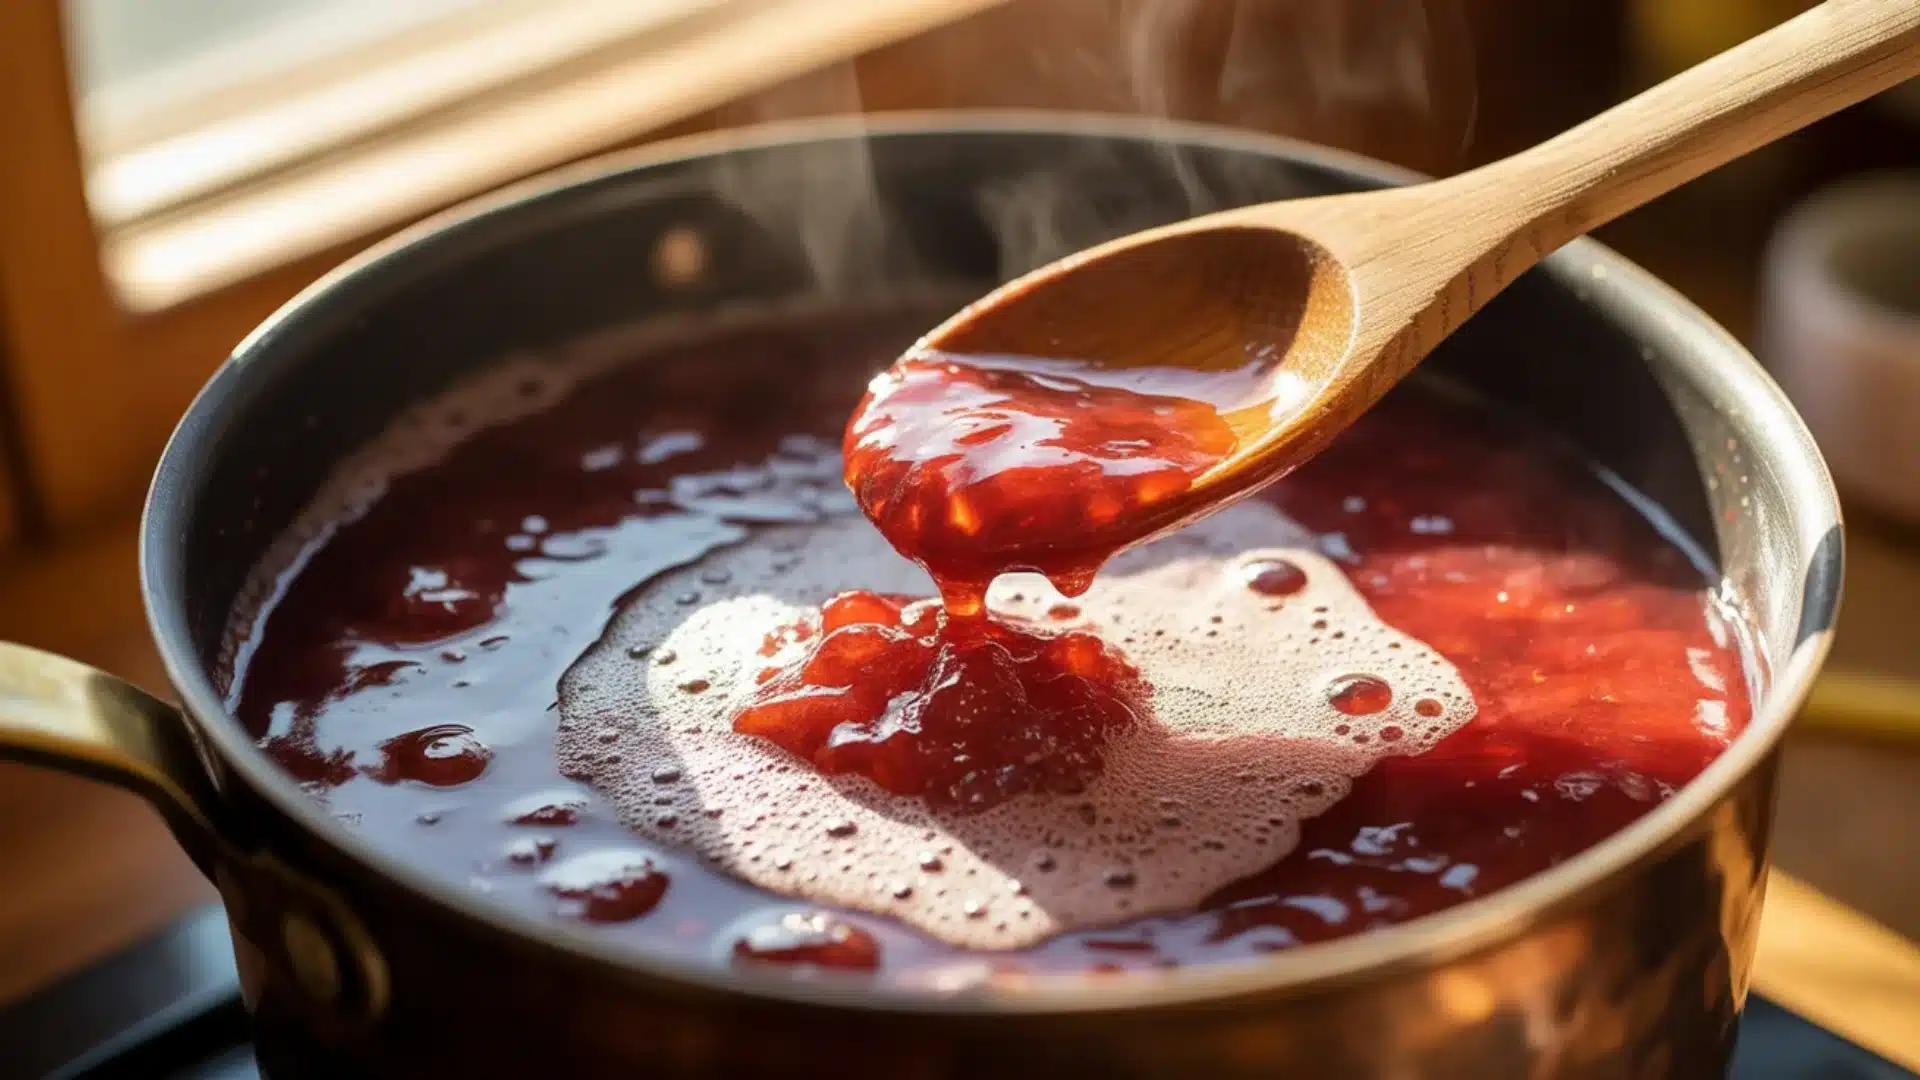
Step 4: Watch the Temperature
If you have a kitchen thermometer, aim for 104°C (220°F). This is the setting point for jam.
No thermometer? No problem. Keep a small plate in the freezer from the start. Drop a teaspoon of jam onto the cold plate every few minutes after the 10-minute mark.
Let it sit for 30 seconds, then push it gently with your fingertip. If the surface wrinkles and holds its shape, your jam is ready.
If it runs flat and liquid, give it another three to five minutes and test again.
Did you know? Strawberries are one of the lowest pectin fruits available. This is exactly why lemon juice is non negotiable in most strawberry jam recipes. The natural acid activates the fruit’s existing pectin and helps everything set properly without turning rubbery.
Step 5: Skim the Foam
Once the jam hits its setting point, take the pan off the heat immediately. You’ll likely see a layer of pinkish foam sitting on top. Skim this off with a large spoon.
It won’t affect the taste, but removing it gives you a cleaner, clearer jam in the jar.
A small knob of butter stirred in at this stage can also help reduce foam if you’re seeing a lot of it.
Step 6: Pour and Seal
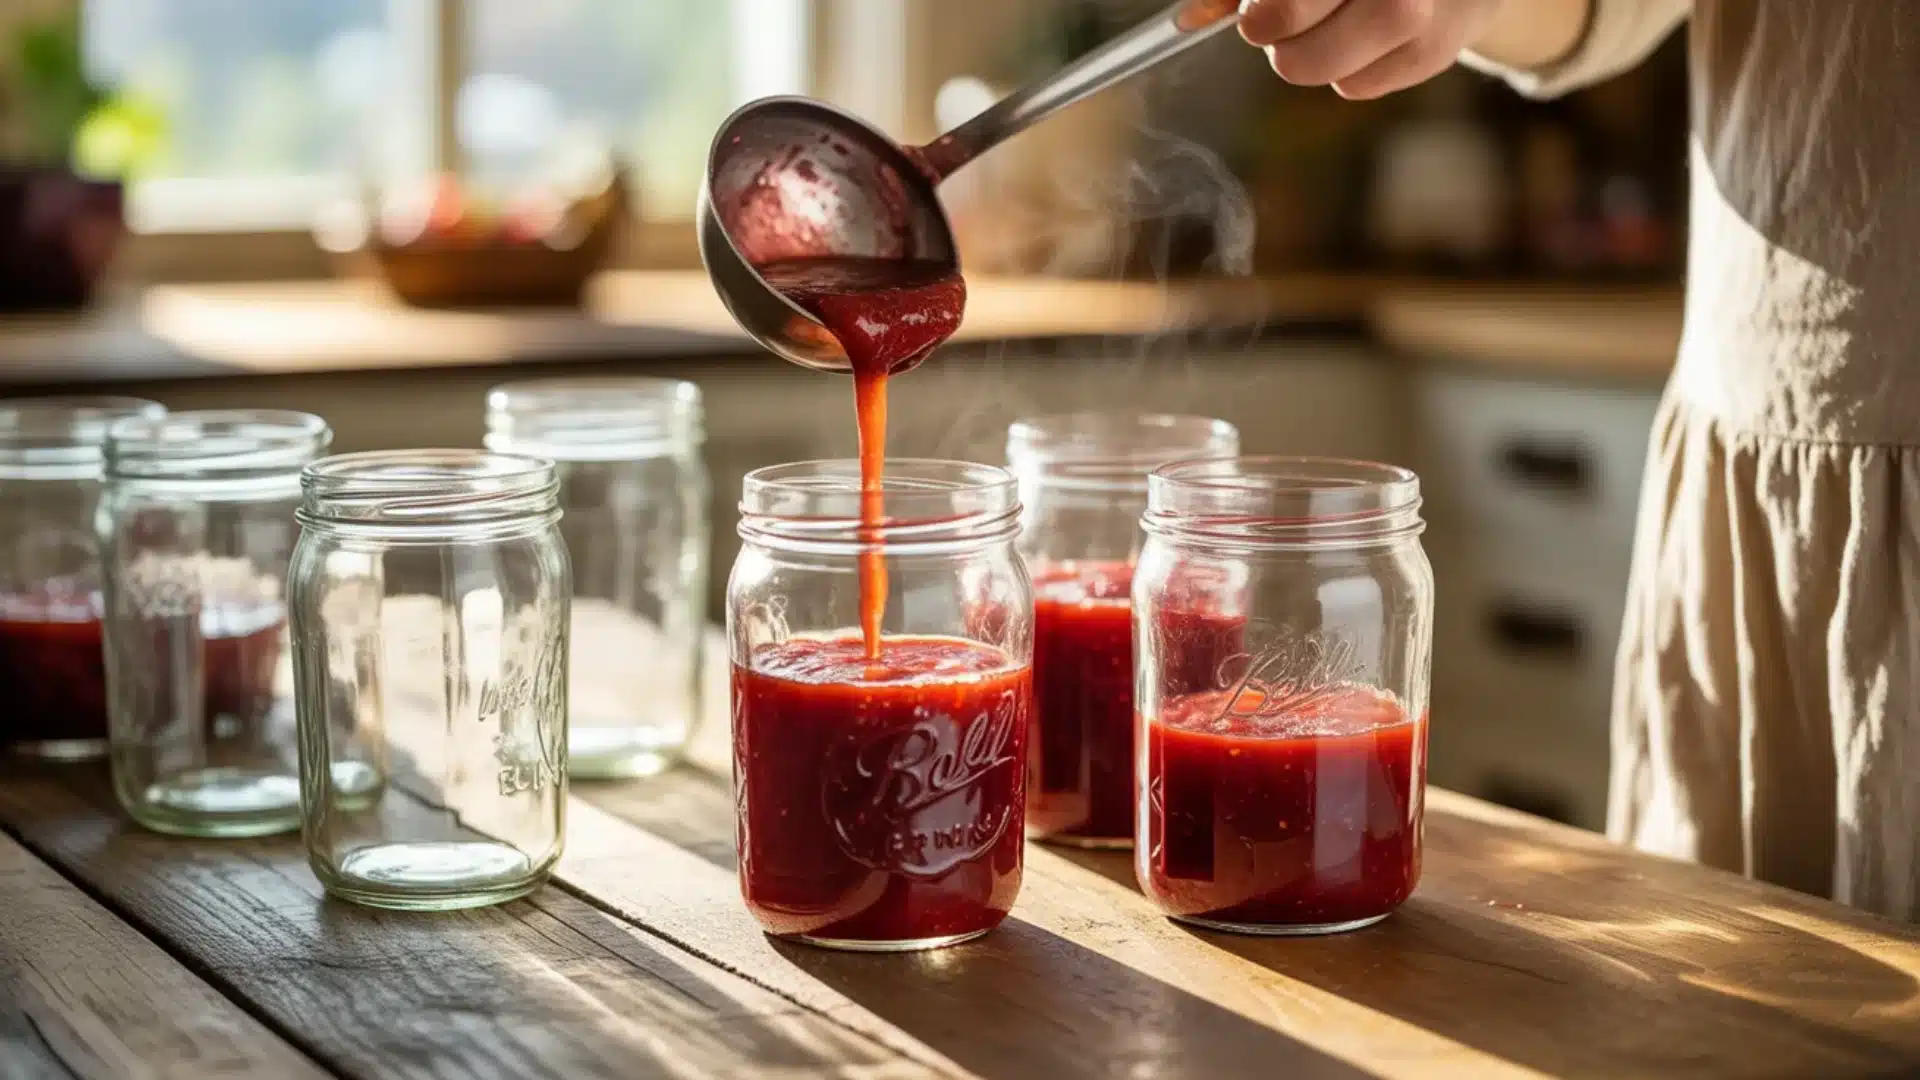
Work quickly here. Ladle the hot jam into your sterilized jars using a wide-mouth funnel if you have one.
Fill each jar close to the top, leaving just a small gap. Wipe the rims clean with a damp cloth, then screw the lids on firmly. Flip the jars upside down for two minutes.
This helps create a natural seal. Then turn them right side up and leave them completely undisturbed on the counter until fully cool.
Step 7: Check the Seal and Label
Once the jars have cooled, press down gently on the center of each lid.
It should feel firm with no flex. Any jar that clicks hasn’t sealed properly. Refrigerate those and use them first.
Write the date on every sealed jar before storing.
Different Methods to Make Strawberry Jam Recipes at Home
Not every batch needs to look or taste the same. Here are four ways to make it depending on your time and preference.
Classic Stovetop Strawberry Jam: The most traditional method. Strawberries, sugar, and lemon juice are cooked down until they reach the setting point. Rich, glossy, and deeply flavored.
Freezer Strawberry Jam (No Cook): No heat, no sterilising. Crush the berries, stir in sugar and liquid pectin, and freeze. It’s brighter and fresher tasting than a cooked version.
Low Sugar Strawberry Jam: Uses a low-sugar pectin so the fruit flavor leads rather than the sweetness. Great on yogurt or oatmeal.
Small Batch Strawberry Jam: Around 300g of strawberries makes one to two jars. A low-stakes way to try it for the first time
How I Store it
Getting the storage right means your jam actually lasts. Here’s what works for me after years of making batches big and small.
For Sealed, Shelf-Stable Jars:
- Sterilize your jars properly before filling. Wash them in hot soapy water, then place them them in an oven at 120°C for 15 minutes.
- Fill jars while both the jam and jars are hot. This creates a proper vacuum seal as they cool.
- Sealed jars keep well in a cool, dark cupboard for up to 12 months.
If Once Opened:
- Always refrigerate after opening.
- Use within four to six weeks.
- Keep a clean, dry spoon in the jar every time. Introducing water or crumbs quickly shortens the shelf life.
For freezer jam (no-cook method):
- Use freezer-safe containers, not glass jars.
- Leave at least 1cm of space at the top for expansion.
- Freezer jam keeps for up to one year frozen and one month once thawed in the fridge.
Quick tip: Label every jar with the date you made it. You’ll thank yourself six months later when you’re staring at three identical jars wondering which one to open first.
Conclusion
These strawberry jam recipes are proof that simple ingredients, done right, beat anything on a supermarket shelf.
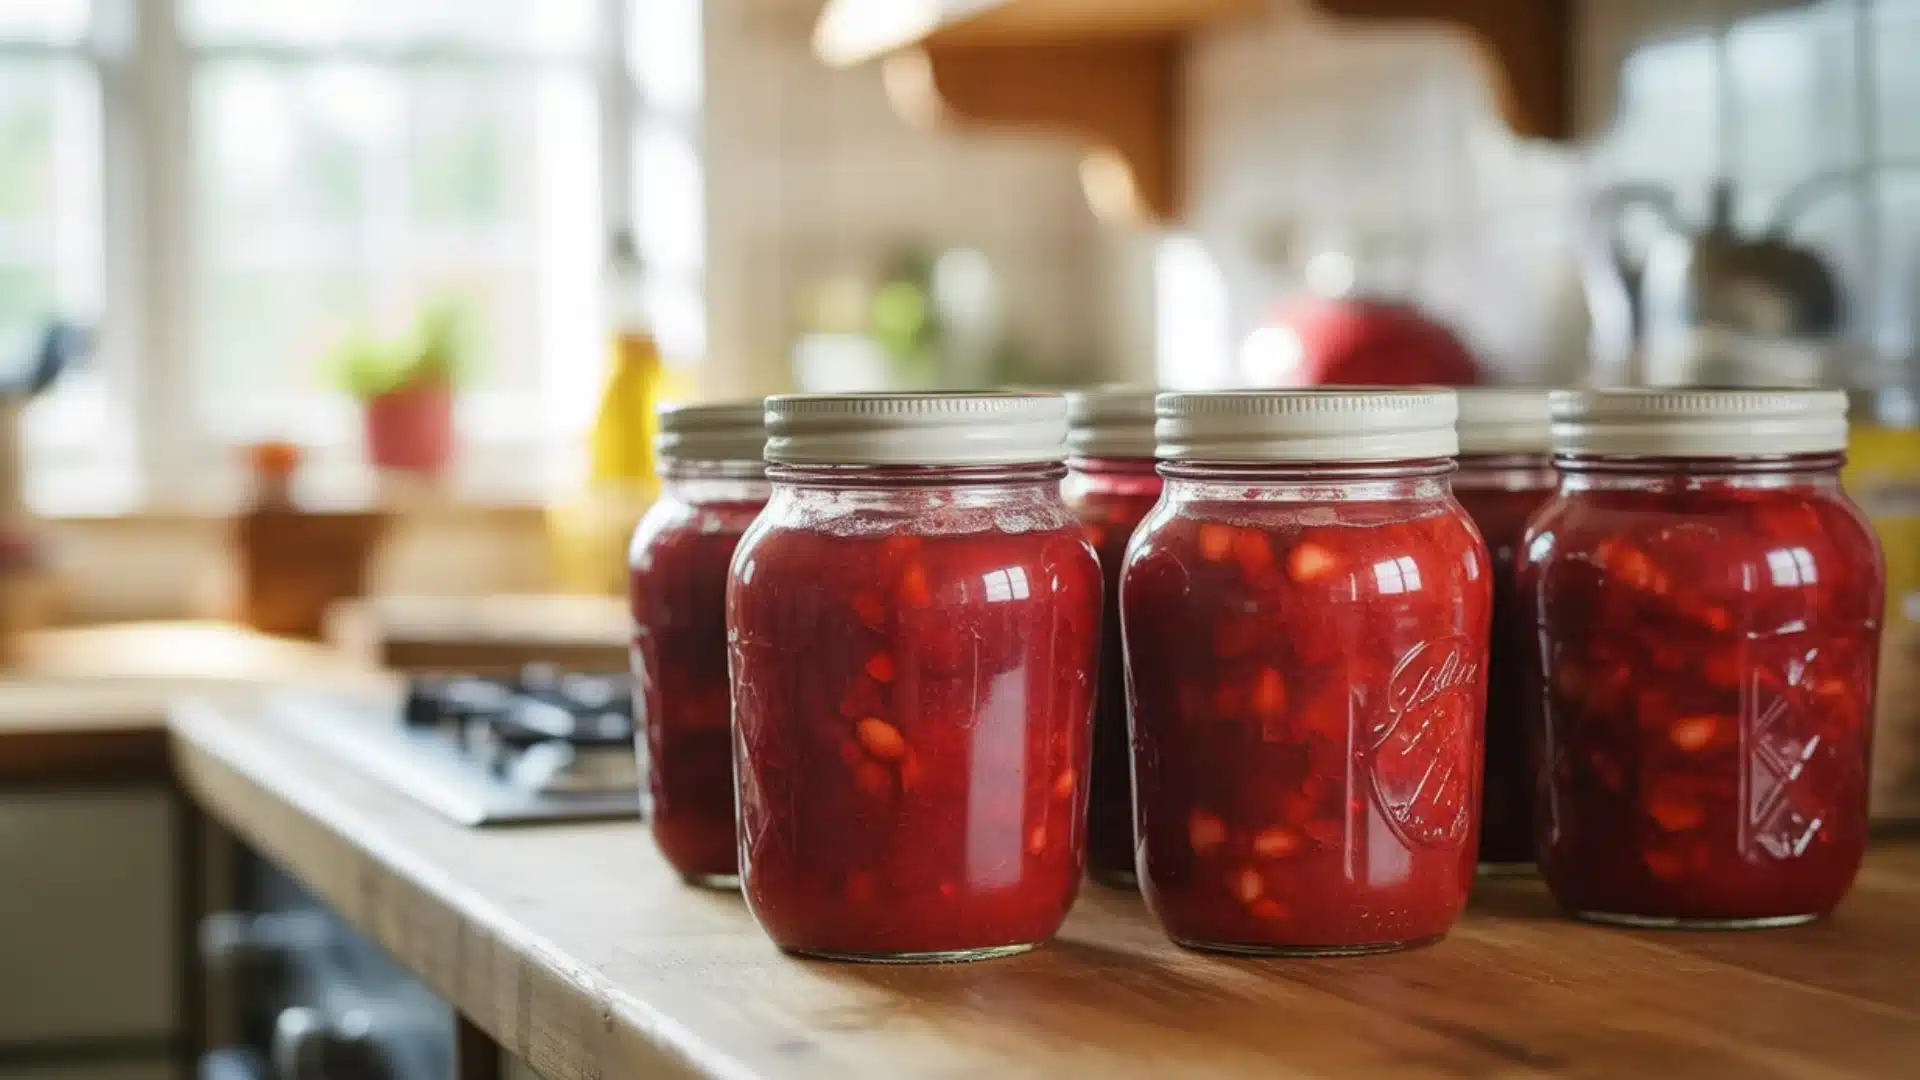
I still remember my first batch back in 2018, standing in my countryside kitchen watching the jars cool on the counter, hoping they’d set right.
They did.
A few good strawberries, one afternoon, and a little patience are genuinely all it takes.
Give it a go and drop a comment below letting me know how it turned out.
Frequently Asked Questions
1. Is Strawberry Jam Better With or Without Pectin?
Both work well. Pectin gives a firmer, quicker set. Without it, you get a softer, more natural flavor.
2. How to Can Strawberry Jam?
Fill sterilized jars with hot jam, seal tightly, and process in boiling water for 10 minutes. Label and store.