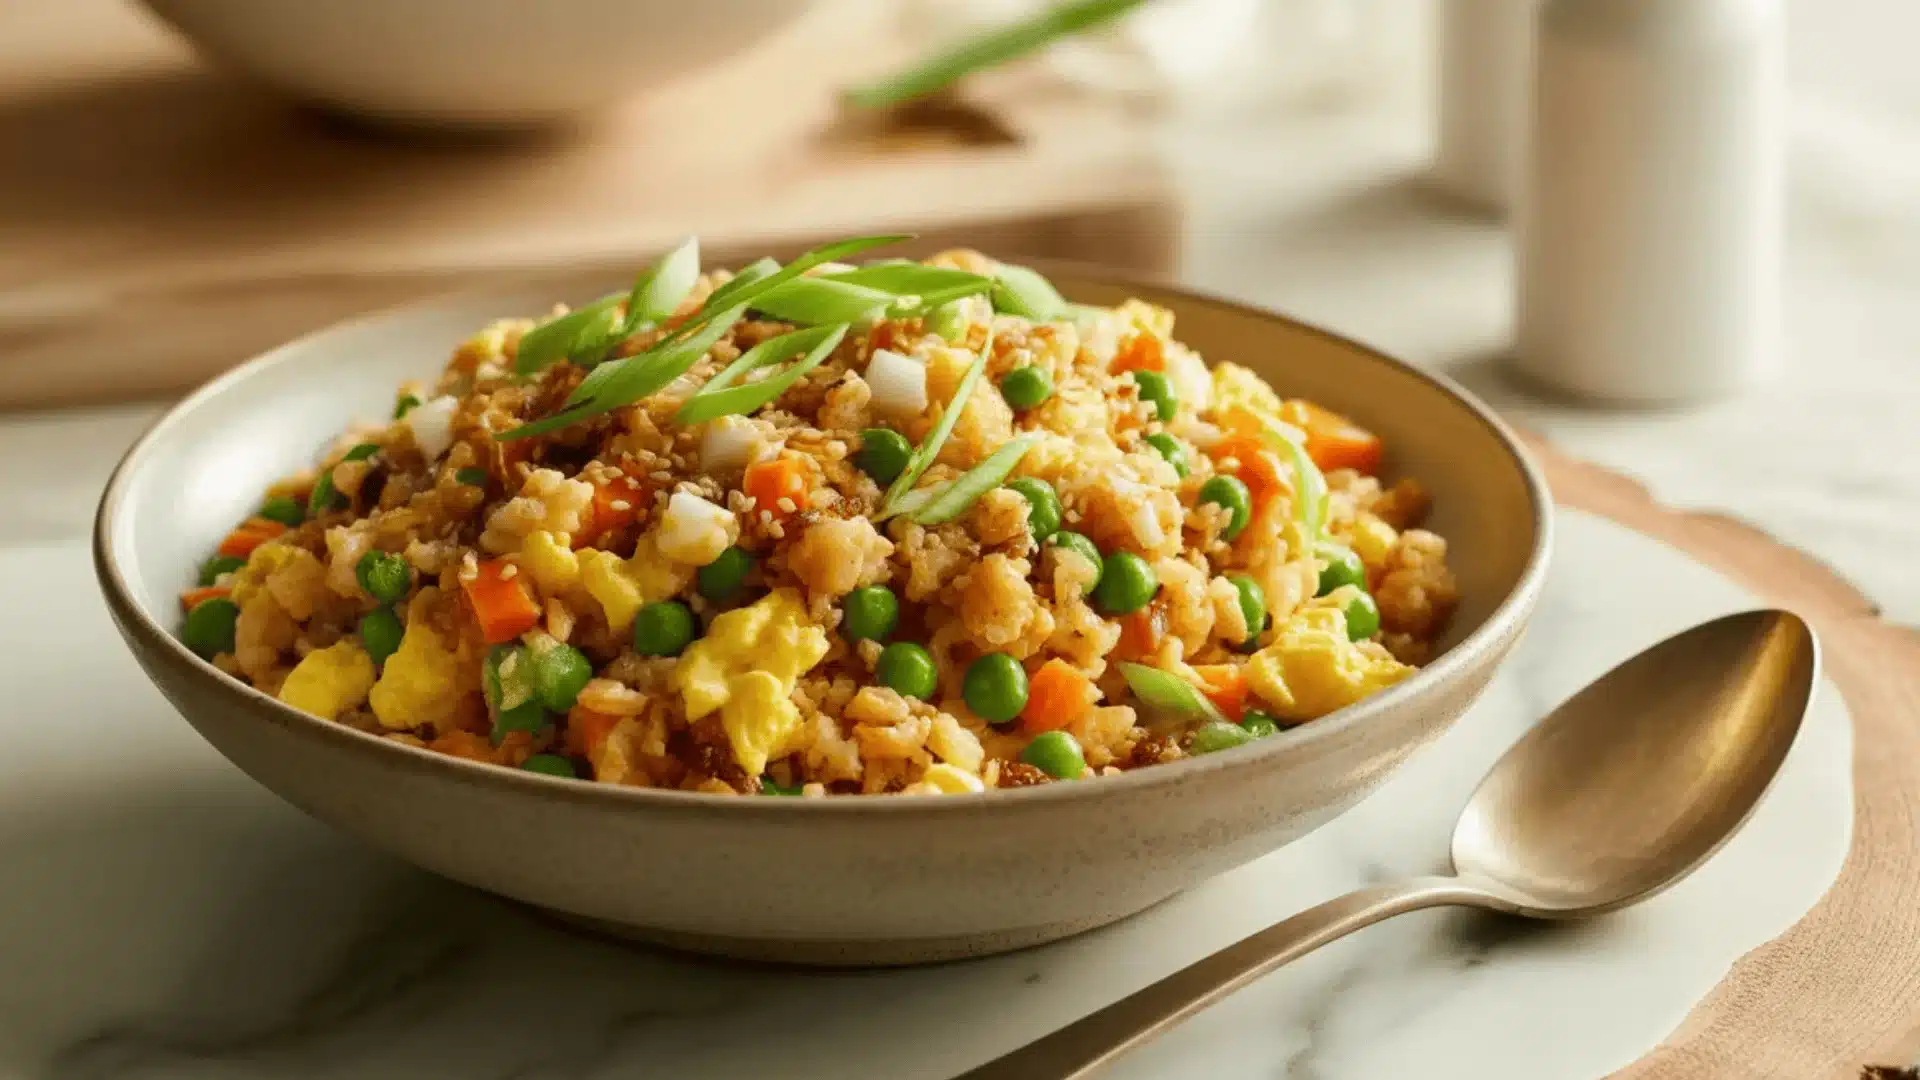
Fried rice is one of those dishes that is hard to resist.
But if you’re keeping an eye on carbs, it’s usually the first thing you cut back on. Still, there’s a way to enjoy it.
One cup of white rice has around 45 grams of carbs, while one cup of cauliflower rice has just about 5 grams, and that’s not a small difference; that’s a total swap worth making.
And cauliflower fried rice doesn’t ask you to sacrifice anything.
Same satisfying textures, same bold flavors, easy to make, and even easier on your body.
Ingredients
Nothing complicated, nothing you need to hunt down at a specialist store. Here’s what goes into it.
| Ingredient | Quantity |
|---|---|
| Cauliflower (whole head) or pre-riced cauliflower | 1 medium head / 3 cups |
| Sesame oil | 1 tablespoon |
| Olive oil | 1 tablespoon |
| Eggs, lightly beaten | 3 large |
| Frozen peas and carrots | 1 cup |
| Onion, diced | ½ cup |
| Garlic, minced | 3 cloves |
| Fresh ginger, grated | 1 teaspoon |
| Low-sodium soy sauce (or tamari) | 2 tablespoons |
| Spring onions, sliced | 2 stalks |
| Salt and pepper | To taste |
You can toss in some diced chicken, shrimp, or tofu for that extra protein.
Preparation
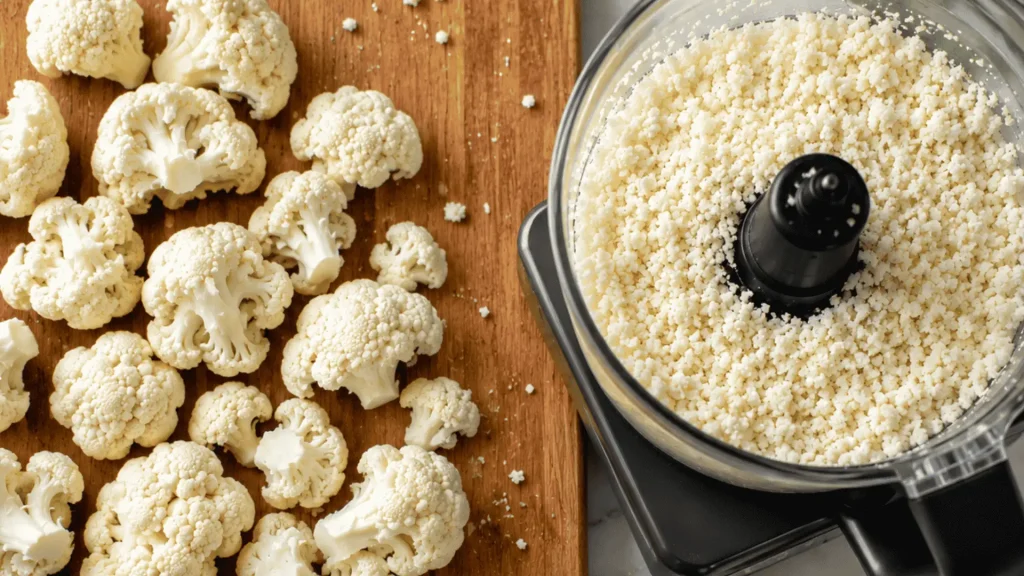
Cut the cauliflower into florets first, then pat them dry with a clean kitchen towel. This part actually matters. Wet cauliflower steams instead of fries, and that’s where the soggy texture comes from.
Once it’s dry, pulse it in a food processor for about 20 to 30 seconds. You’re going for a loose, rice-like texture. Stop before it turns into a paste.
A box grater does the same job as a food processor if you don’t have one at home. Use the medium holes and work over a large bowl.
- Pat florets dry before processing
- Pulse in short bursts, not continuously
- Aim for rice-sized pieces, not powder
One simple trick worth trying: Rinse the cauliflower an hour before you plan to cook, then leave it in the fridge, uncovered. It dries out slightly as it sits, and the texture in the pan is noticeably better for it.
Instructions
Twenty minutes. One pan. The following is how everything comes together.
Step 1: Prepping Cauliflower (Rice Texture)
Cut the cauliflower into florets and pat them completely dry with a kitchen towel.
Moisture is what ruins the texture, so take your time here. Once dry, pulse in a food processor for 20 to 30 seconds, until it resembles loose rice grains.
Short bursts work better than one long run. Stop before it turns powdery.
Step 2: Prepare Cauliflower Rice
Spread the riced cauliflower out on a clean kitchen towel and press gently to pull out any remaining moisture.
If you have time, leave it in the fridge uncovered for an hour. It firms up as it sits and holds its texture far better in the pan.
If you’re using store-bought, then thaw it fully and press it dry before anything else.
Step 3: Chopping Veggies
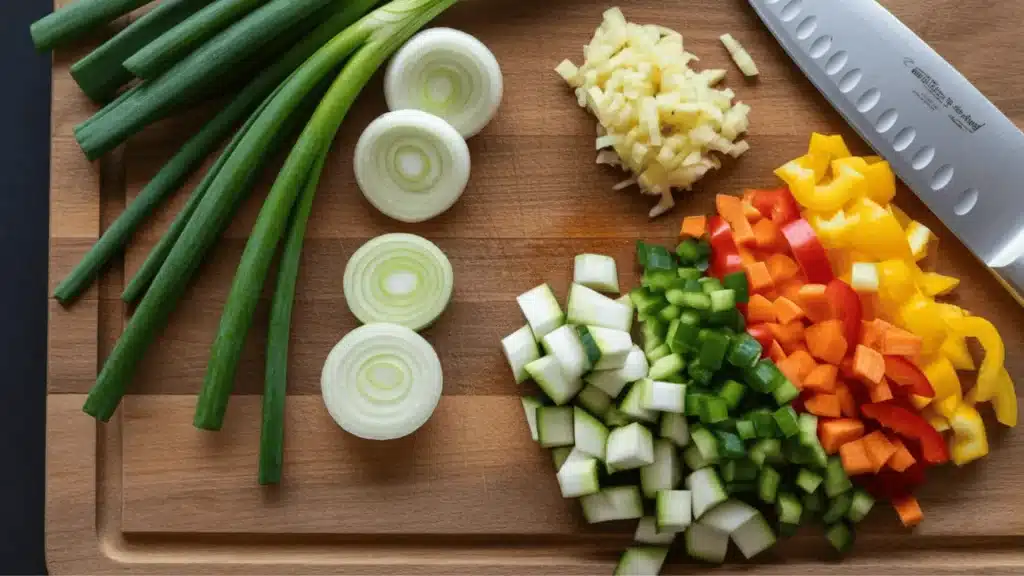
Dice the onion, mince the garlic, grate the ginger, and slice the spring onions. Get everything ready and within reach before the pan goes on.
Once you start cooking, things move quickly, and you won’t have time to stop and chop.
Step 4: Cooking Eggs
Set your skillet over medium heat and add a small drizzle of oil.
Pour in the beaten eggs and scramble them gently until just set. You want them soft and slightly underdone at this stage, since they’ll continue cooking when folded back in later.
Set them aside on a plate.
Step 5: Sautéing Aromatics
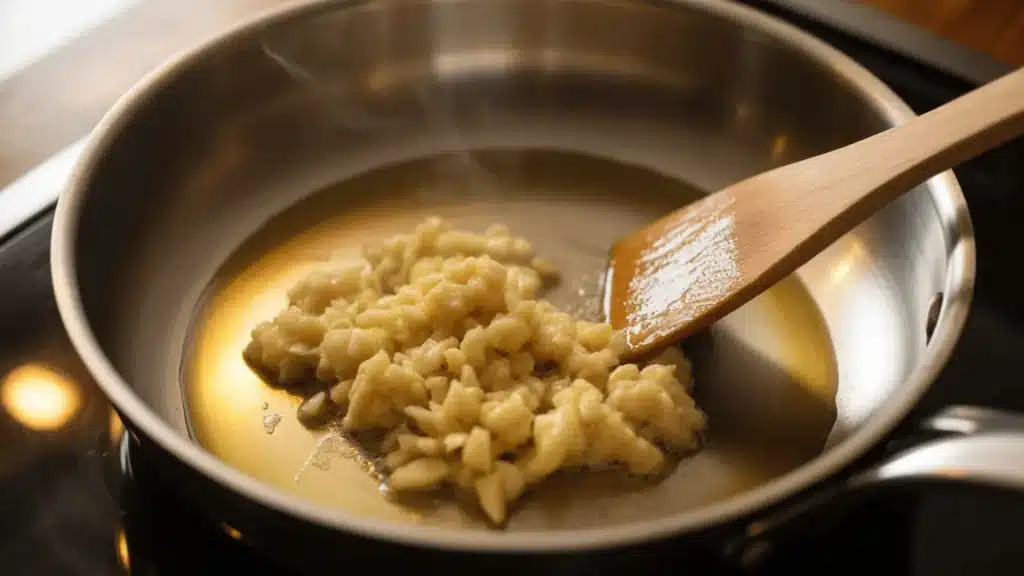
Turn the heat up to medium-high and add the olive oil. Once it’s shimmering, add the diced onion.
Cook for 2 to 3 minutes until soft and translucent. Add the garlic and ginger together and stir for 30 seconds. Your kitchen should smell really good right about now.
Step 6: Cooking Vegetables
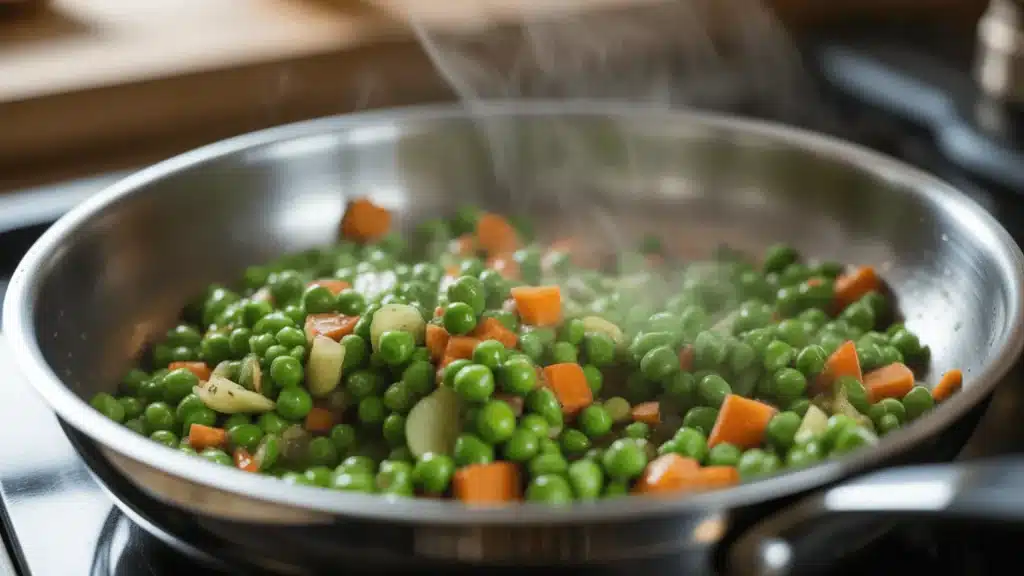
Add the frozen peas and carrots straight into the pan. Stir everything together, then cook for about 2 minutes.
Keep it moving so nothing catches on the bottom.
The vegetables don’t need long, just enough time to heat through and pick up a little color.
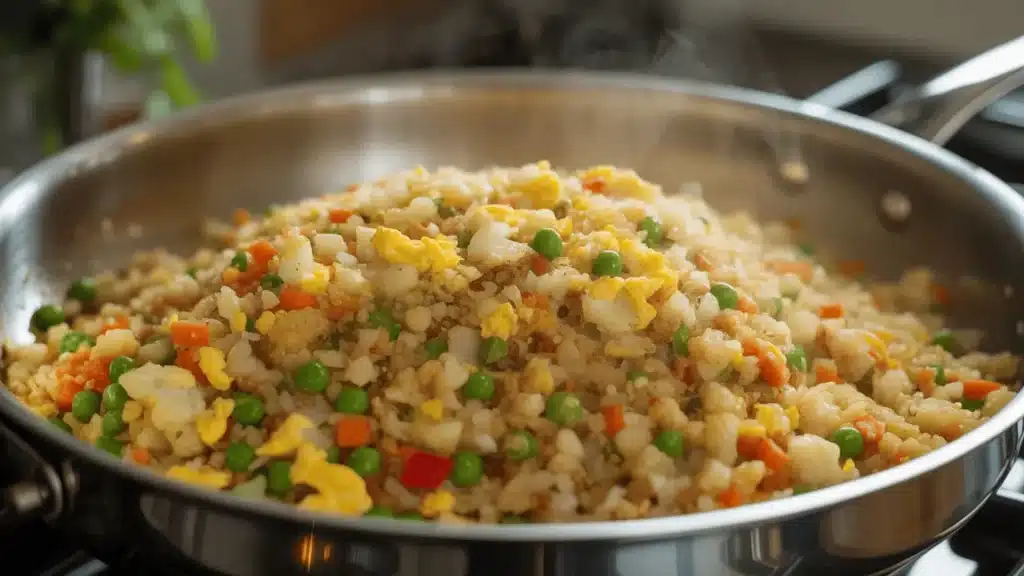
Step 7: Adding Cauliflower Rice
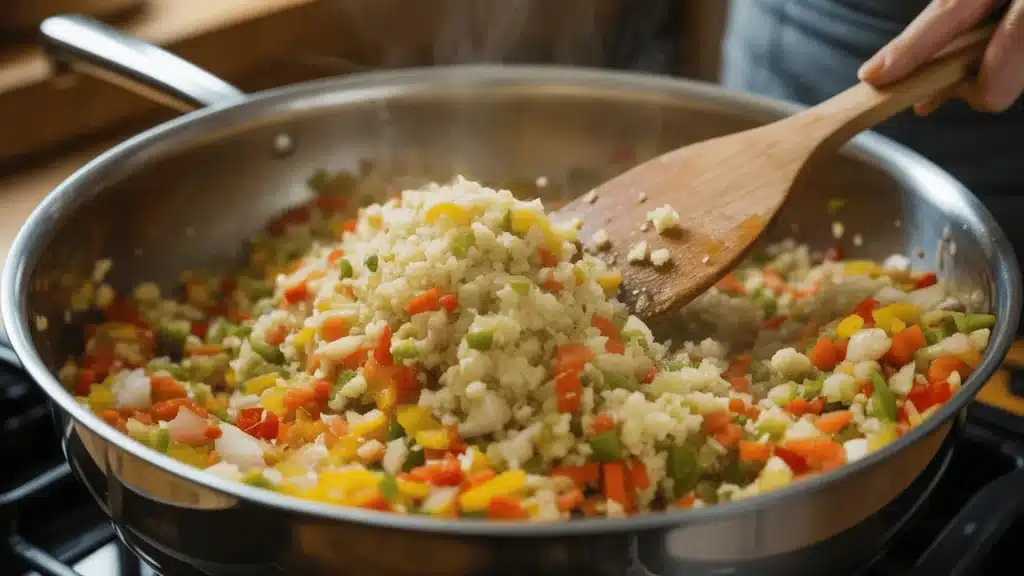
Tip the cauliflower rice into the pan along with the sesame oil. Spread it out flat and leave it completely undisturbed for two full minutes.
That resting time is what gives you the lightly golden, slightly crispy edges. Stir once, spread it flat again, and leave for another minute or two.
If your cauliflower fried rice is still watery, don’t worry it always comes down to either too much moisture in the cauliflower or a pan that wasn’t hot enough. Get both right, and the problem goes away.
Step 8: Adding Sauces
Drizzle the soy sauce evenly over the pan. Hold off on adding it before this.
Soy sauce brings liquid into the pan, and if everything isn’t properly cooked through first, it softens the texture you’ve spent the last few minutes building.
One even pour at this stage is all it needs.
Step 9: Mixing Everything Together
Add the scrambled eggs back into the pan. Toss everything together well so the eggs, vegetables, cauliflower rice, and sauce are evenly combined.
Taste it. Adjust salt and pepper as needed. This is the moment to get the seasoning right before it hits the plate.
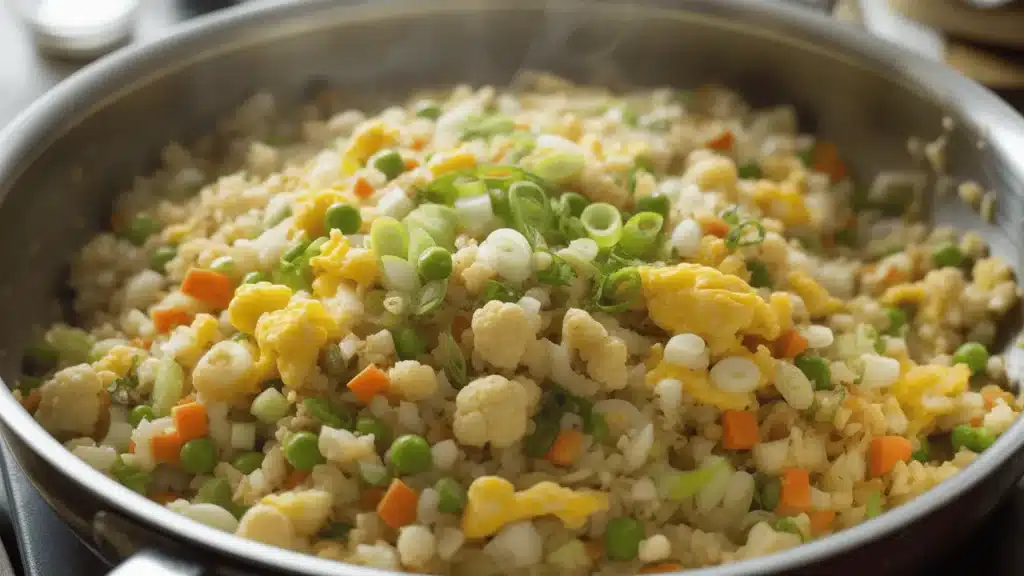
Step 10: Serve Hot
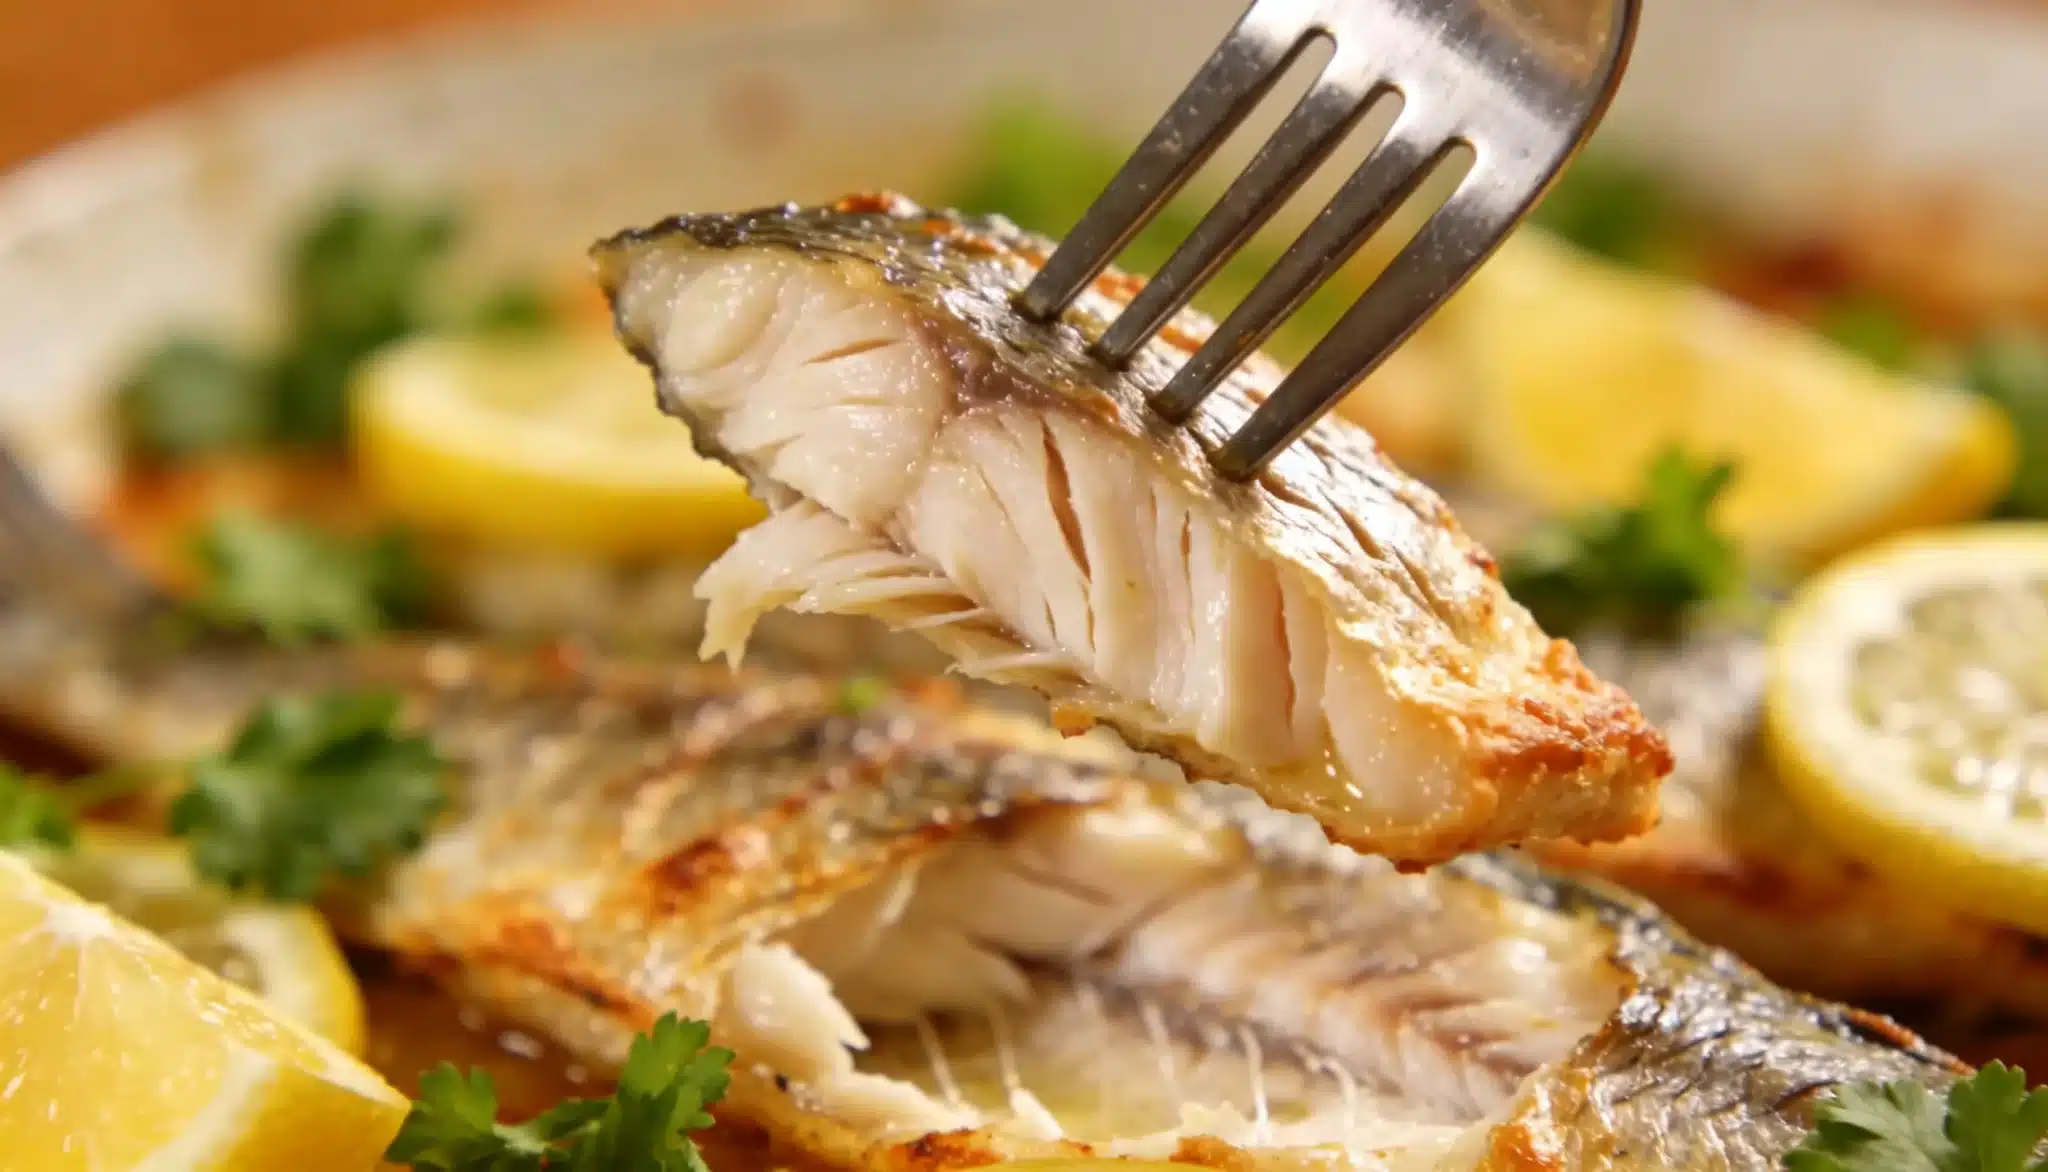
Scatter the sliced spring onions over the top and serve straight from the pan. It’s best eaten fresh and hot. If you’re serving it as a side, it pairs well with grilled chicken or baked salmon.
Leftovers keep in the fridge for up to 3 days and reheat well in a hot skillet.
Before You Close this Tab
Cauliflower fried rice is one of those recipes that genuinely gets better the more you make it.
The first time, you follow the steps. After that, you adjust the heat, tweak the seasoning, and make it your own.
A few things worth remembering:
- High heat always. Low and slow gives you mush.
- Soy sauce goes in last, not before.
- Leftovers keep for 3 days. Reheat in a hot skillet, not the microwave.
Frequently Asked Questions (FAQs)
1. Does Cauliflower Fried Rice Actually Taste Like the Real Thing?
It’s lighter and softer, but the seasoning and eggs bring it surprisingly close to the real thing.
2. Can I Prepare this in Advance?
Yes. Store in the fridge for up to 3 days and reheat in a hot skillet for best results.
3. Why Does My Cauliflower Fried Rice Always Turn Out Watery?
Usually, two things: the cauliflower wasn’t dried properly or the pan wasn’t hot enough. Fix both, and you will be good.