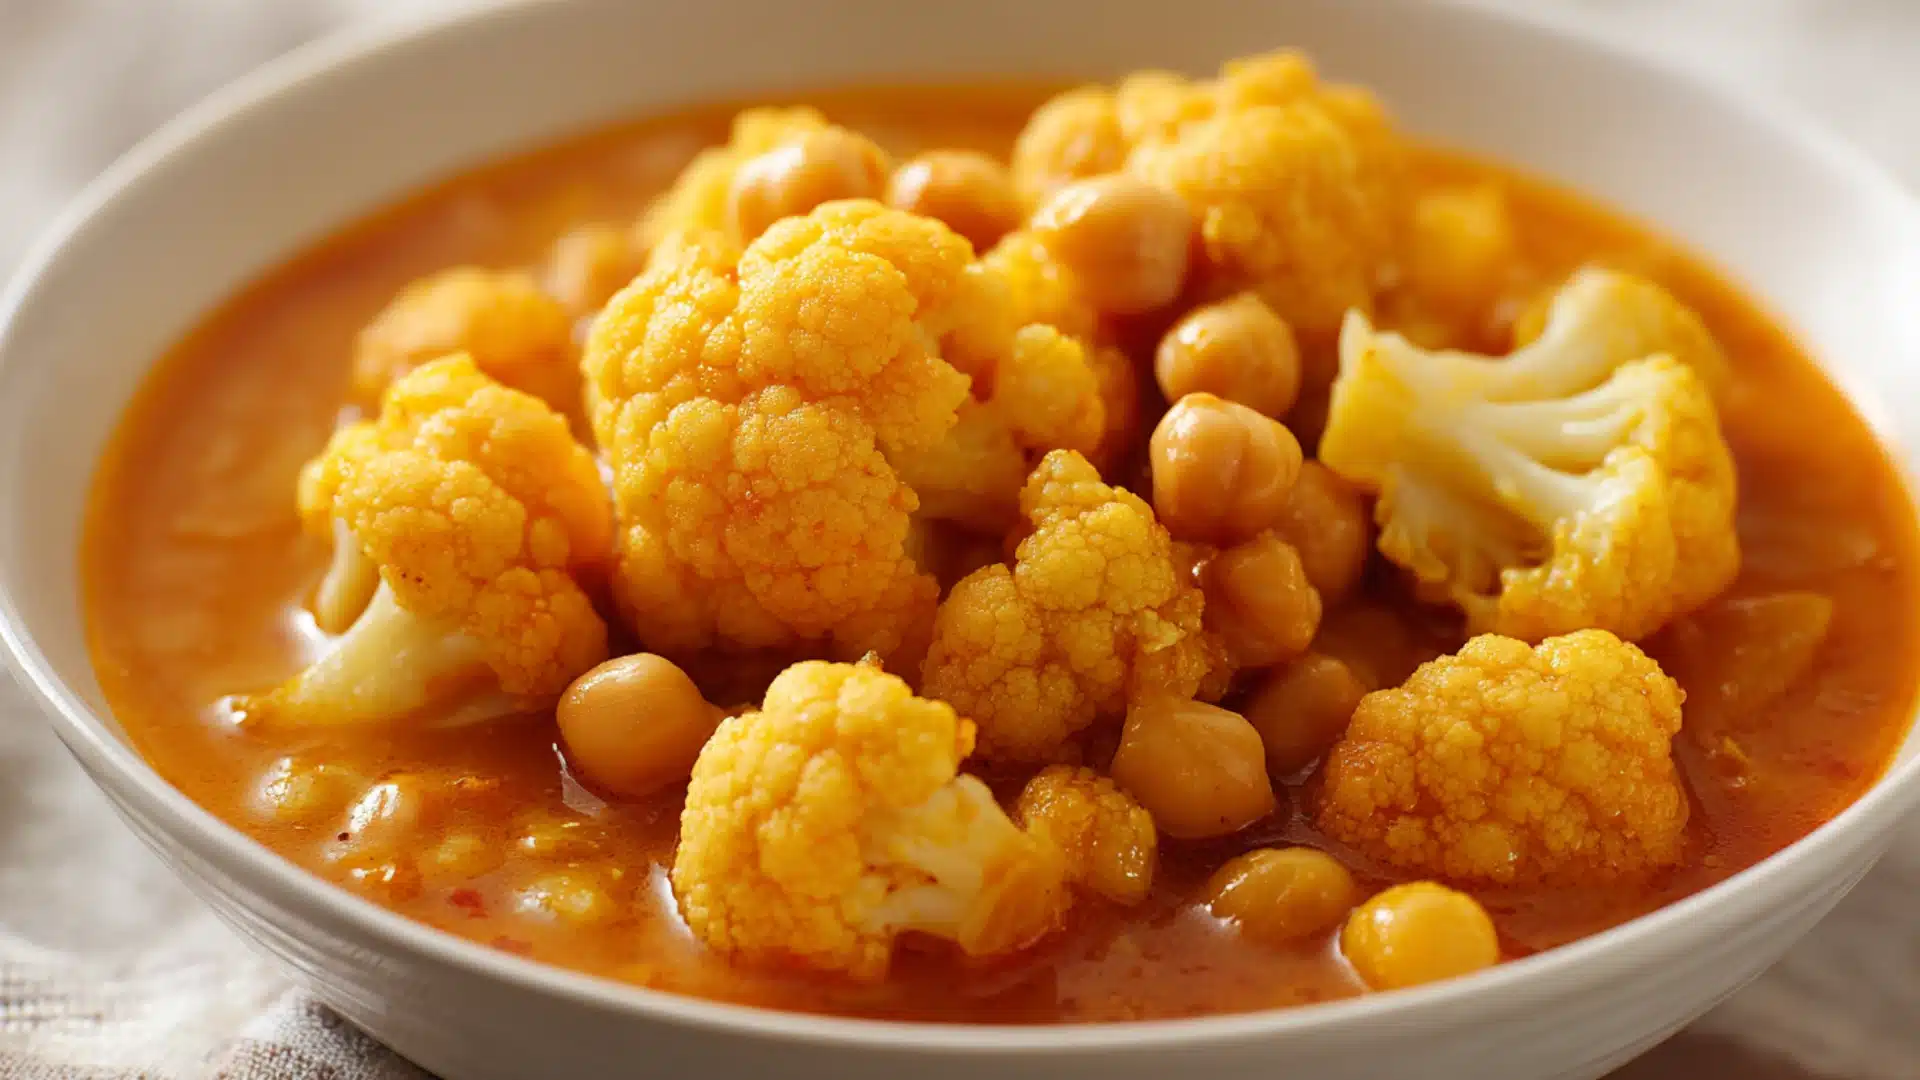
There’s a particular kind of hunger that hits mid-week, the kind where you want something warm and proper, not just food for the sake of it.
That’s exactly where this cauliflower and chickpea curry comes in.
It’s the sort of meal that smells incredible while it’s cooking, fills the kitchen with cumin and warm spice, and somehow comes together faster than anything that tastes this good should.
Forty-five minutes, one-pot recipe, and hardly any washing up.
Ingredients You’ll Need for Cauliflower and Chickpea Curry
Everything here is straightforward, and nothing you’d need to hunt down at a specialist shop.
A tin of chickpeas, a head of cauliflower, and a handful of spices you likely already have sitting in the cupboard.
| Ingredient | Amount |
|---|---|
| Cauliflower florets | 1 medium head |
| Chickpeas, drained | 1 x 400g tin |
| Onion, garlic, ginger | 1 large, 3 cloves, 1 inch |
| Tomatoes or tomato puree | 400g tin or 3 tbsp |
| Turmeric, cumin, coriander, garam masala | 1 tsp each |
| Coconut milk | 1 x 400ml tin |
| Spinach or peas | Large handful |
The coconut milk and greens are optional, but I rarely skip them. The coconut milk rounds out the spices beautifully, and a handful of spinach stirred in at the end adds color without changing the flavor.
How to Make Cauliflower and Chickpea Curry Step by Step
No complicated techniques, no hard-to-find equipment. Just a wide pot, good ingredients, and about 45 minutes from start to finish.
Step 1: Prep the Ingredients
Break the cauliflower into even florets so everything cooks at the same pace.
Drain and rinse the chickpeas, dice the onion, and have your spices measured out before you start.
It makes the whole process much calmer once the heat is on. Think of it as setting yourself up for an easy cook rather than a stressful one.
Step 2: Sauté the Base
Heat a little oil in a wide pot over medium heat. Add the onion and cook for 5 to 6 minutes until soft and golden.
Stir in the garlic and ginger and cook for another minute until fragrant.
The kitchen will smell incredible at this point, which is always a good sign.
Don’t rush the onions. A properly softened, golden base is what gives the curry its depth. Under-seasoning at this stage is the most common reason a curry tastes flat, so add a pinch of salt here before moving on.
Step 3: Add Spices and Tomatoes
Add the turmeric, cumin, coriander, and garam masala directly to the pot.
Stir for about 30 seconds to toast the spices, then pour in the tomatoes. Let everything cook together for 4 to 5 minutes until the sauce thickens slightly and the raw tomato smell cooks off.
This is where the curry starts coming together, and you’ll notice the color deepening into that warm, rich orange.
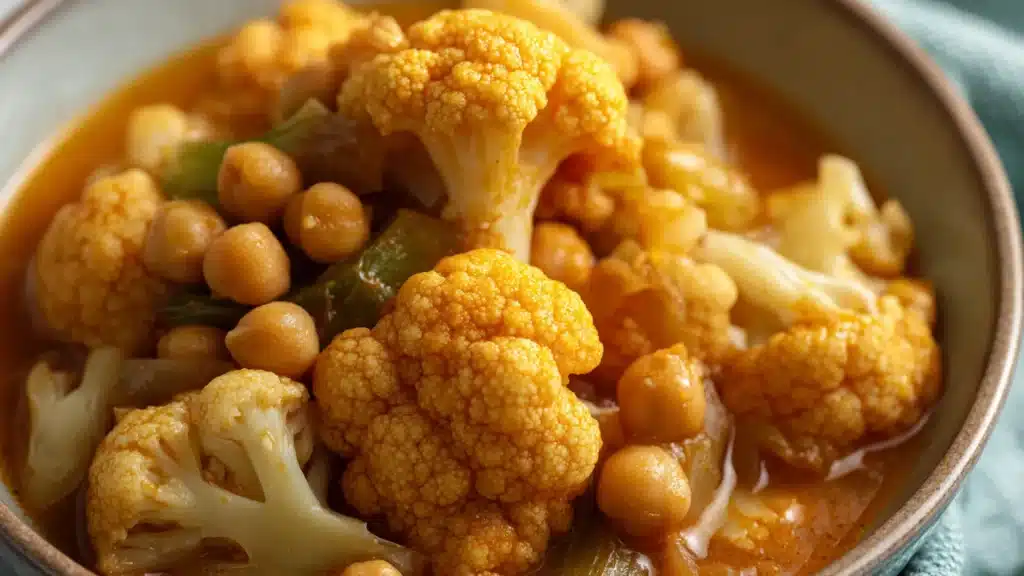
Step 4: Add Cauliflower and Chickpeas
Tip in the cauliflower florets and chickpeas and stir well to coat everything in the sauce.
Pour in the coconut milk if using, along with a splash of water if the curry looks too thick at this stage. Give everything one good stir and let the heat do the rest.
Keep the florets on the smaller side. Large pieces take longer to cook and tend to turn mushy on the outside before they’re tender all the way through.
Step 5: Simmer Until Tender
Lower the heat, cover the pot, and simmer for 15 to 20 minutes.
The cauliflower should be just tender when pierced with a fork, not falling apart.
Check it at the 15-minute mark rather than waiting for the full 20; every hob runs a little differently, and it’s much easier to add a few more minutes than to rescue overcooked florets.
Once the cauliflower is tender, remove the lid and let the curry bubble for a few minutes if it looks watery.
The sauce should coat the back of a spoon, not pool around everything. A curry that reduces properly always tastes better than one that doesn’t.
Step 6: Adjust Seasoning and Serve
This last step is worth taking your time over. Stir in the spinach or peas if using, and let them wilt for 2 minutes.
Taste, adjust the salt, and finish with a squeeze of lemon juice to brighten everything up.
That little bit of acidity at the end pulls the whole dish together in a way that’s hard to explain until you try it. Serve hot with rice, naan, or flatbread.
My Favorite Ways to Switch Up This Curry!
One of the things I love most about this recipe is how easily it adapts. Same base, completely different results.
Creamy Coconut Curry
Add a full tin of coconut milk and simmer, uncovered, for an extra 5 minutes.
The sauce turns rich and velvety, perfect for cold evenings when you want something that really sticks to you.
Spicy Version
Double the garam masala, add chili flakes, and throw in a finely chopped green chili with the garlic and ginger.
A spoonful of plain yogurt on top when serving takes the edge off nicely.
Dry Stir-Fry Style
Skip the tomatoes and coconut milk. Roast the cauliflower first until the edges catch, then toss everything together in the spiced base over high heat.
Brilliant alongside dal or grilled flatbread.
One-Pot Quick Version
Everything goes in together. Onion, spices, cauliflower, chickpeas, tomatoes, and a splash of water, all in one pot for 25 minutes.
Not as layered in flavor, but still a very satisfying bowl with minimal effort.
Storage and Reheating Without Losing Flavor
This curry is genuinely one of the better meals to make ahead. The spices deepen overnight, and it tastes even better the next day.
- Refrigerating: Store in an airtight container in the fridge for up to four days. Let it cool completely before sealing to avoid condensation that could water down the sauce.
- Freezing: Portion it into freezer-safe containers and freeze for up to three months. If you added coconut milk, the texture may shift slightly on thawing, but a good stir over low heat brings it right back.
- Reheating: Warm gently on the stovetop over low heat with a small splash of water to loosen the sauce. It reheats well in the microwave, too. Just cover it and stir halfway through to heat evenly.
To Wrap Up
This curry is worth making in a big batch!
It keeps well in the fridge for up to four days in an airtight container, and the flavor genuinely improves overnight as the spices settle.
Let it cool completely before sealing to keep the sauce from thinning out.
Its time to enjoy your cauliflower and chickpea curry.
Frequently Asked Questions (FAQs)
1. Can I Use Dried Chickpeas Instead of Canned?
Yes, just soak them overnight and cook until tender before adding them to the curry.
2. What Can I Serve with Cauliflower and Chickpea Curry?
Steamed basmati rice, warm naan, or flatbread all work beautifully alongside this curry.
3. Is Cauliflower and Chickpea Curry Suitable for Vegans?
Yes, it is completely plant-based as long as you skip the yogurt topping or swap it for a dairy-free alternative.
4. Can I Add Other Vegetables to This Curry?
Sweet potato, butternut squash, or baby spinach all work well and hold up nicely during cooking.
5. How Do I Make the Curry Less Spicy for Kids?
Simply halve the spices, skip the chili entirely, and stir in a little extra coconut milk to mellow the heat.